Test case
Overview
Before migrating to live mode, use the acceptance test tool to complete the acceptance testing process in test mode. Acceptance testing is based on Antom's integration specifications and is used for the following verifications:
- Verify whether the requests that call Antom services comply with the specifications.
- Verify whether the responses from Antom are handled correctly.
Completing acceptance testing in the Test case session enhances the robustness and usability of your developed system. This document outlines a step-by-step guide for two acceptance tests.
Test 1: Complete a payment on the website
The following video presents a test case designed to test how buyers are guided to the checkout page to complete their payment and receive the payment results.
Test 2: Get the payment notification
Log in to Antom Dashboard and locate Test case under Developer. Then, perform acceptance testing according to the prompts. 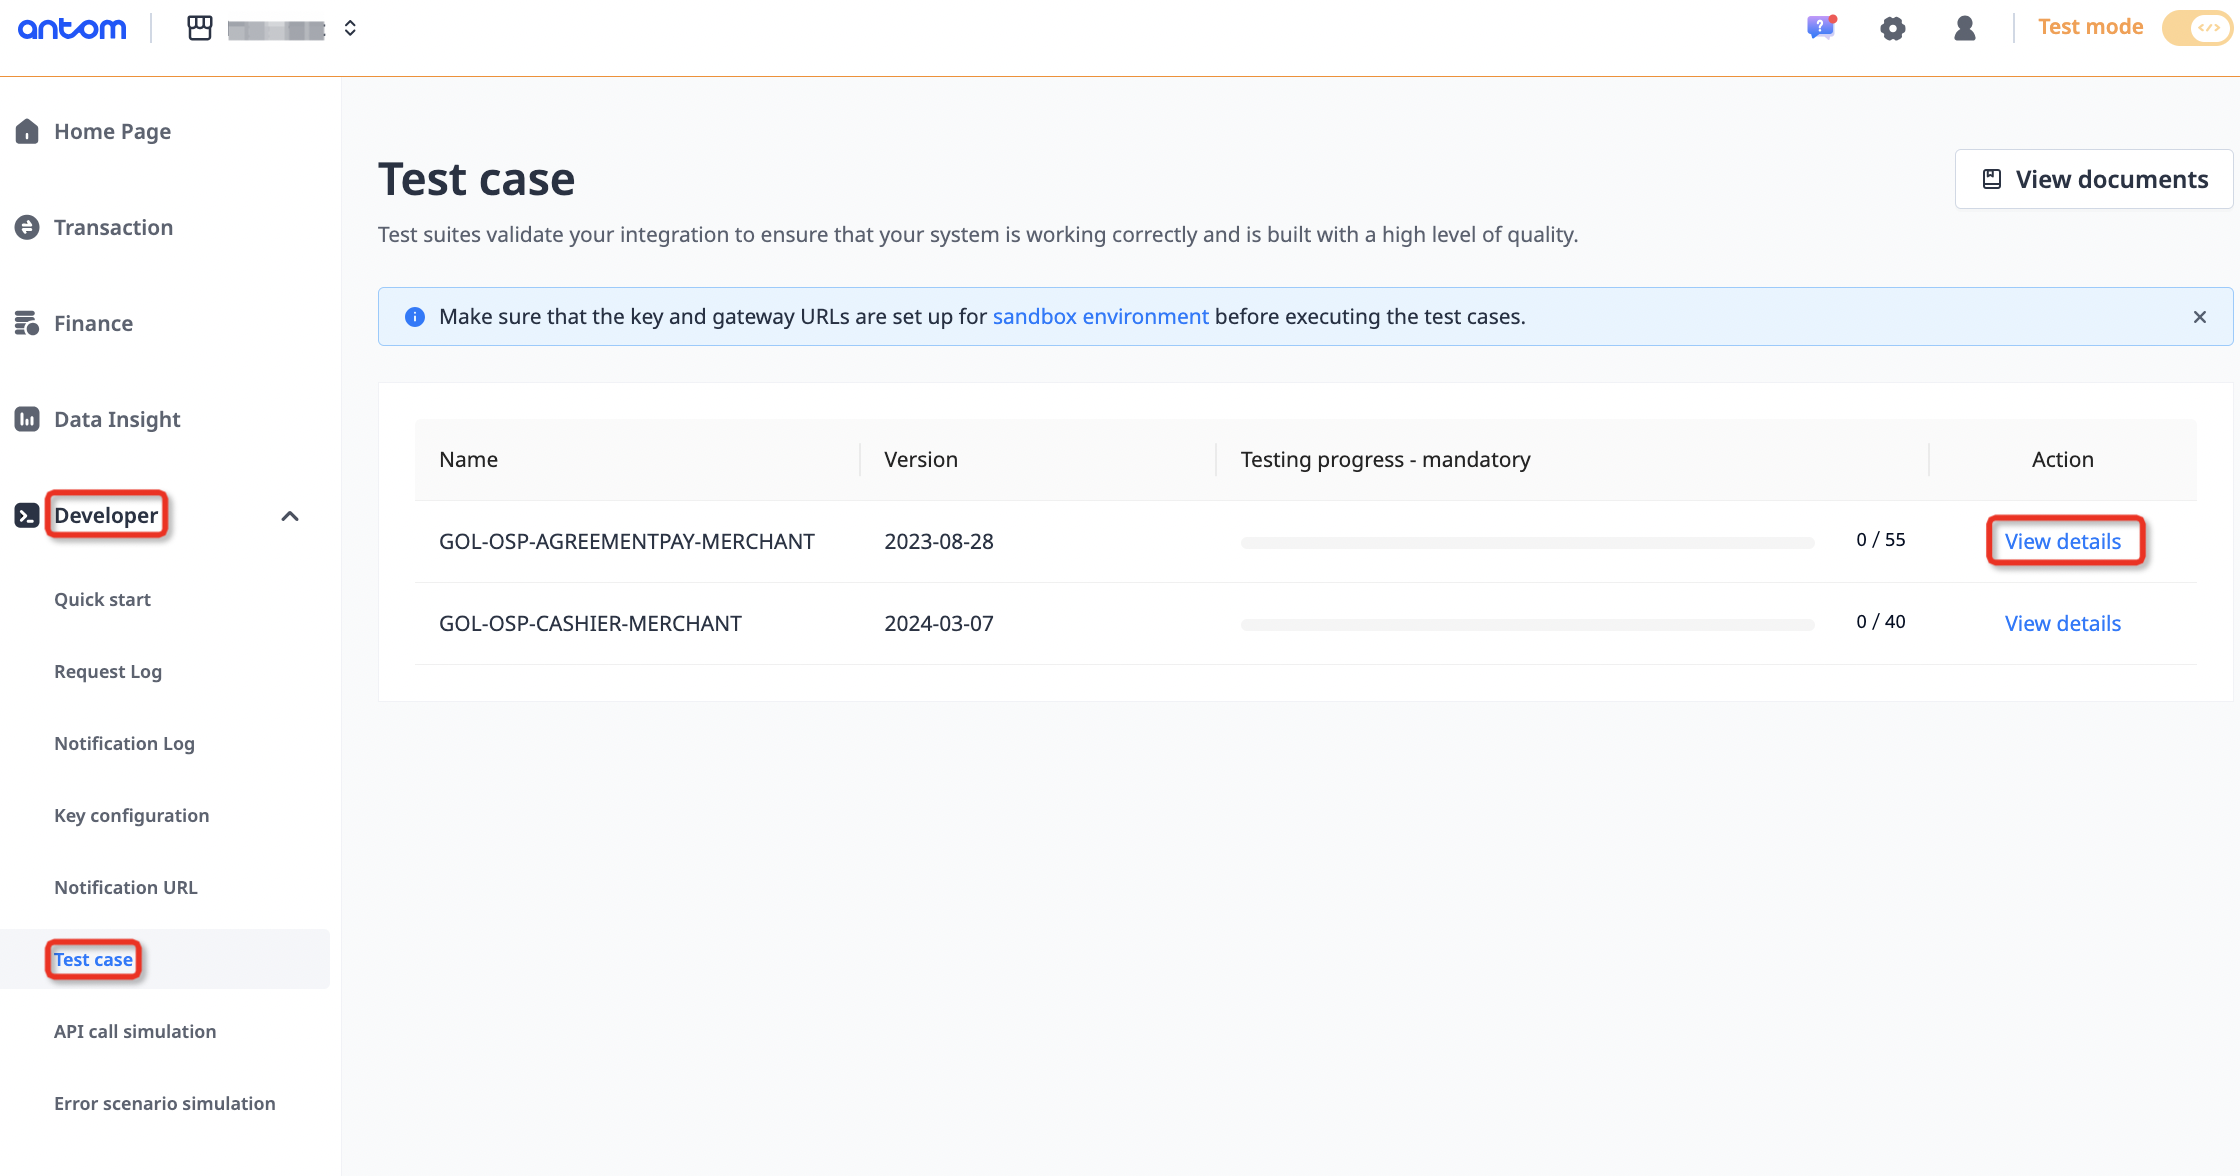
Figure 1. Test case
Acceptance testing allows you to simulate the main payment process. To begin this test, click Start and follow the instructions for each step. You may cancel the test at any point during its execution. Acceptance testing consists of five steps, each with Instruction detailing the required actions and Expected Result as the checkpoint for verification.
Step 1: Upload the image of the checkout page
- Initiate a payment request by selecting a product and proceeding to the checkout page.
- Upload the image of the checkout page. Ensure that the uploaded image meets requirements such as quantity, size, and format.
- After uploading, click Confirm and allow Antom to verify. Antom will check whether the payment method with a local wallet icon is available. Once the image is verified, you may continue acceptance testing.
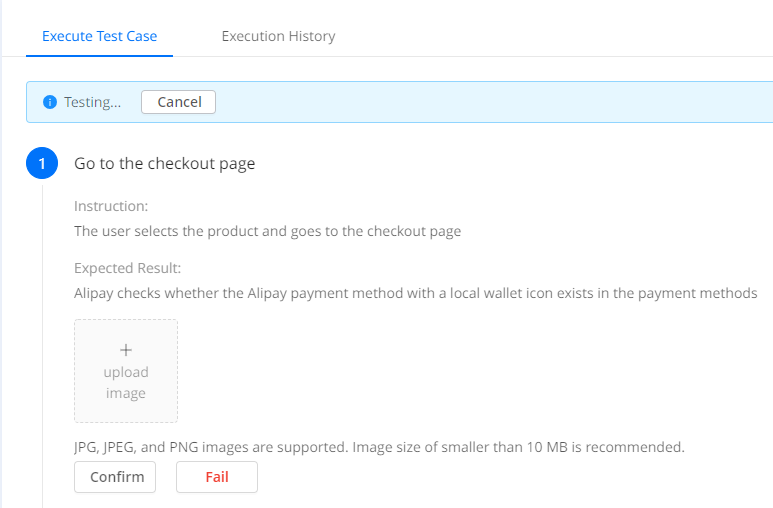
Figure 2. Upload the image of the checkout page
Step 2: Select the payment method and submit the payment request
Submit the payment request by clicking the local wallet icon. When the local wallet's cashier page appears, you may proceed with acceptance testing.
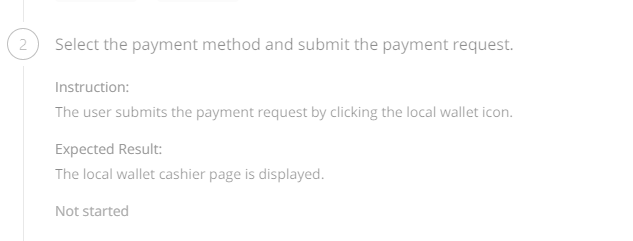
Figure 3. Select the payment method and submit the payment request
Step 3: Upload the image of a successful result page
Submit your authentication information to complete the payment successfully. You can enter any authentication details and the sandbox will return a successful result by default. After completing the payment, upload the image of the successful result page. Ensure the uploaded image meets requirements such as quantity, size, and format. Once verified, you may continue acceptance testing.

Figure 4. Upload the image of a successful result page
Step 4: Receive the payment notification
After a successful payment, the merchant receives a SUCCESS notification on the server side, returning resultStatus as S. Antom verifies that the merchant received the SUCCESS notification and that the /v1/payments/notifyPayment response is signed correctly.
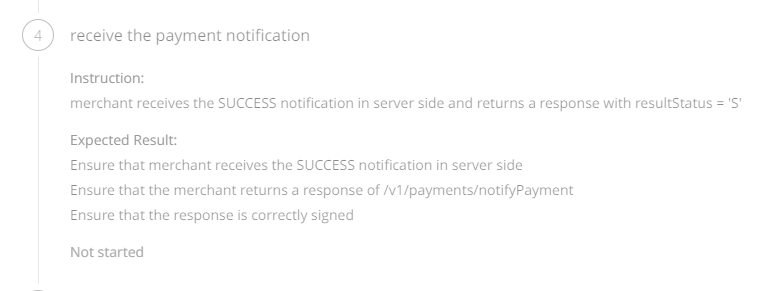
Figure 5. Receive the payment notification
Step 5: Upload the image of the order status page
After receiving the successful payment notification, the merchant updates the order status to Goods delivery. Upload the image of the order status page, ensuring it meets requirements such as quantity, size, and format. After the upload, click Confirm and wait for Antom to verify that the merchant updated the order status.
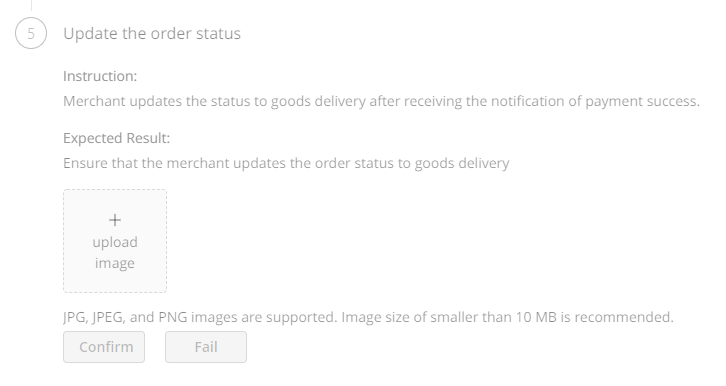
Figure 6. Upload the image of the order status page
Acceptance testing provides test cases to verify whether your processing logic correctly handles both normal and abnormal responses from Antom. Normal responses include successful payments and refunds, while abnormal responses encompass failed payments and refunds. It is required to complete all acceptance testing to enhance the robustness and usability of your developed system. Test cases are organized into sets for different products. For specific acceptance testing steps, refer to the Acceptance Platform test cases. If you have any questions during the acceptance testing process, please contact Antom Technical Support.
