Merchant onboarding
Antom provides an efficient process to help you onboard easily. Follow these four simple steps to set up your business and start conducting transactions quickly:
- Receive Antom portal invitation
- Create Antom portal account
- Register merchant account
- Activate merchant account
Step 1: Receive Antom portal invitation
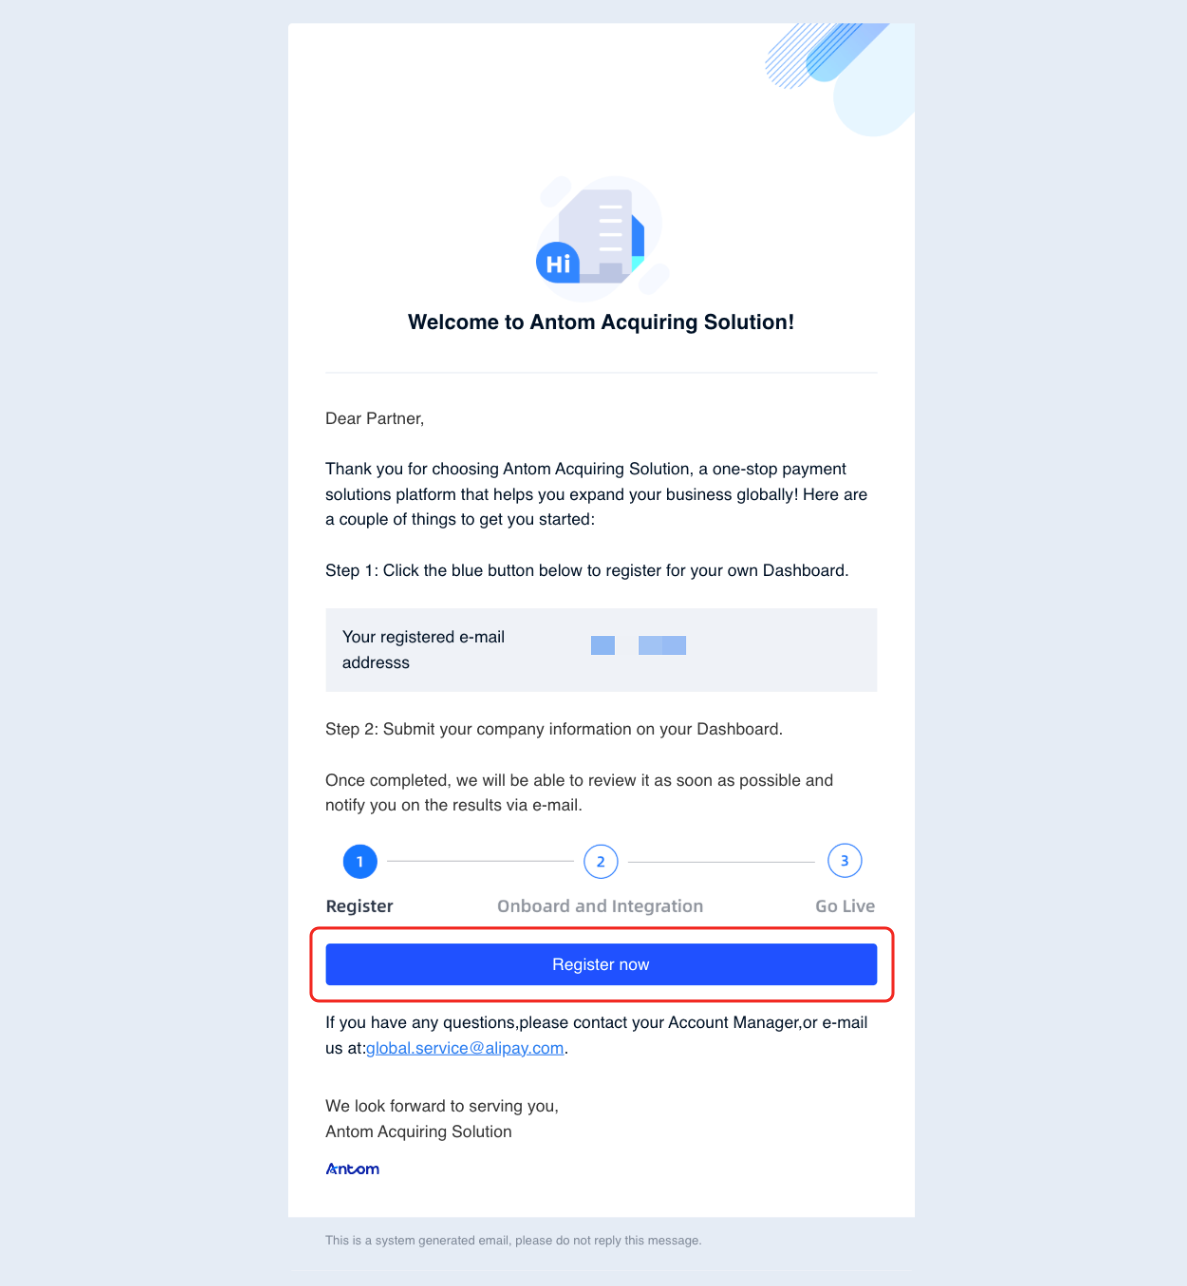
The Antom Business Development team will contact you about Antom portal registration. After receiving the invitation email from Antom, click Register now to start the registration process.
Step 2: Create Antom portal account
Go to the Register page and follow the prompts to fill in the relevant information. Then click Register to complete the Antom portal account creation.

Step 3: Register merchant account
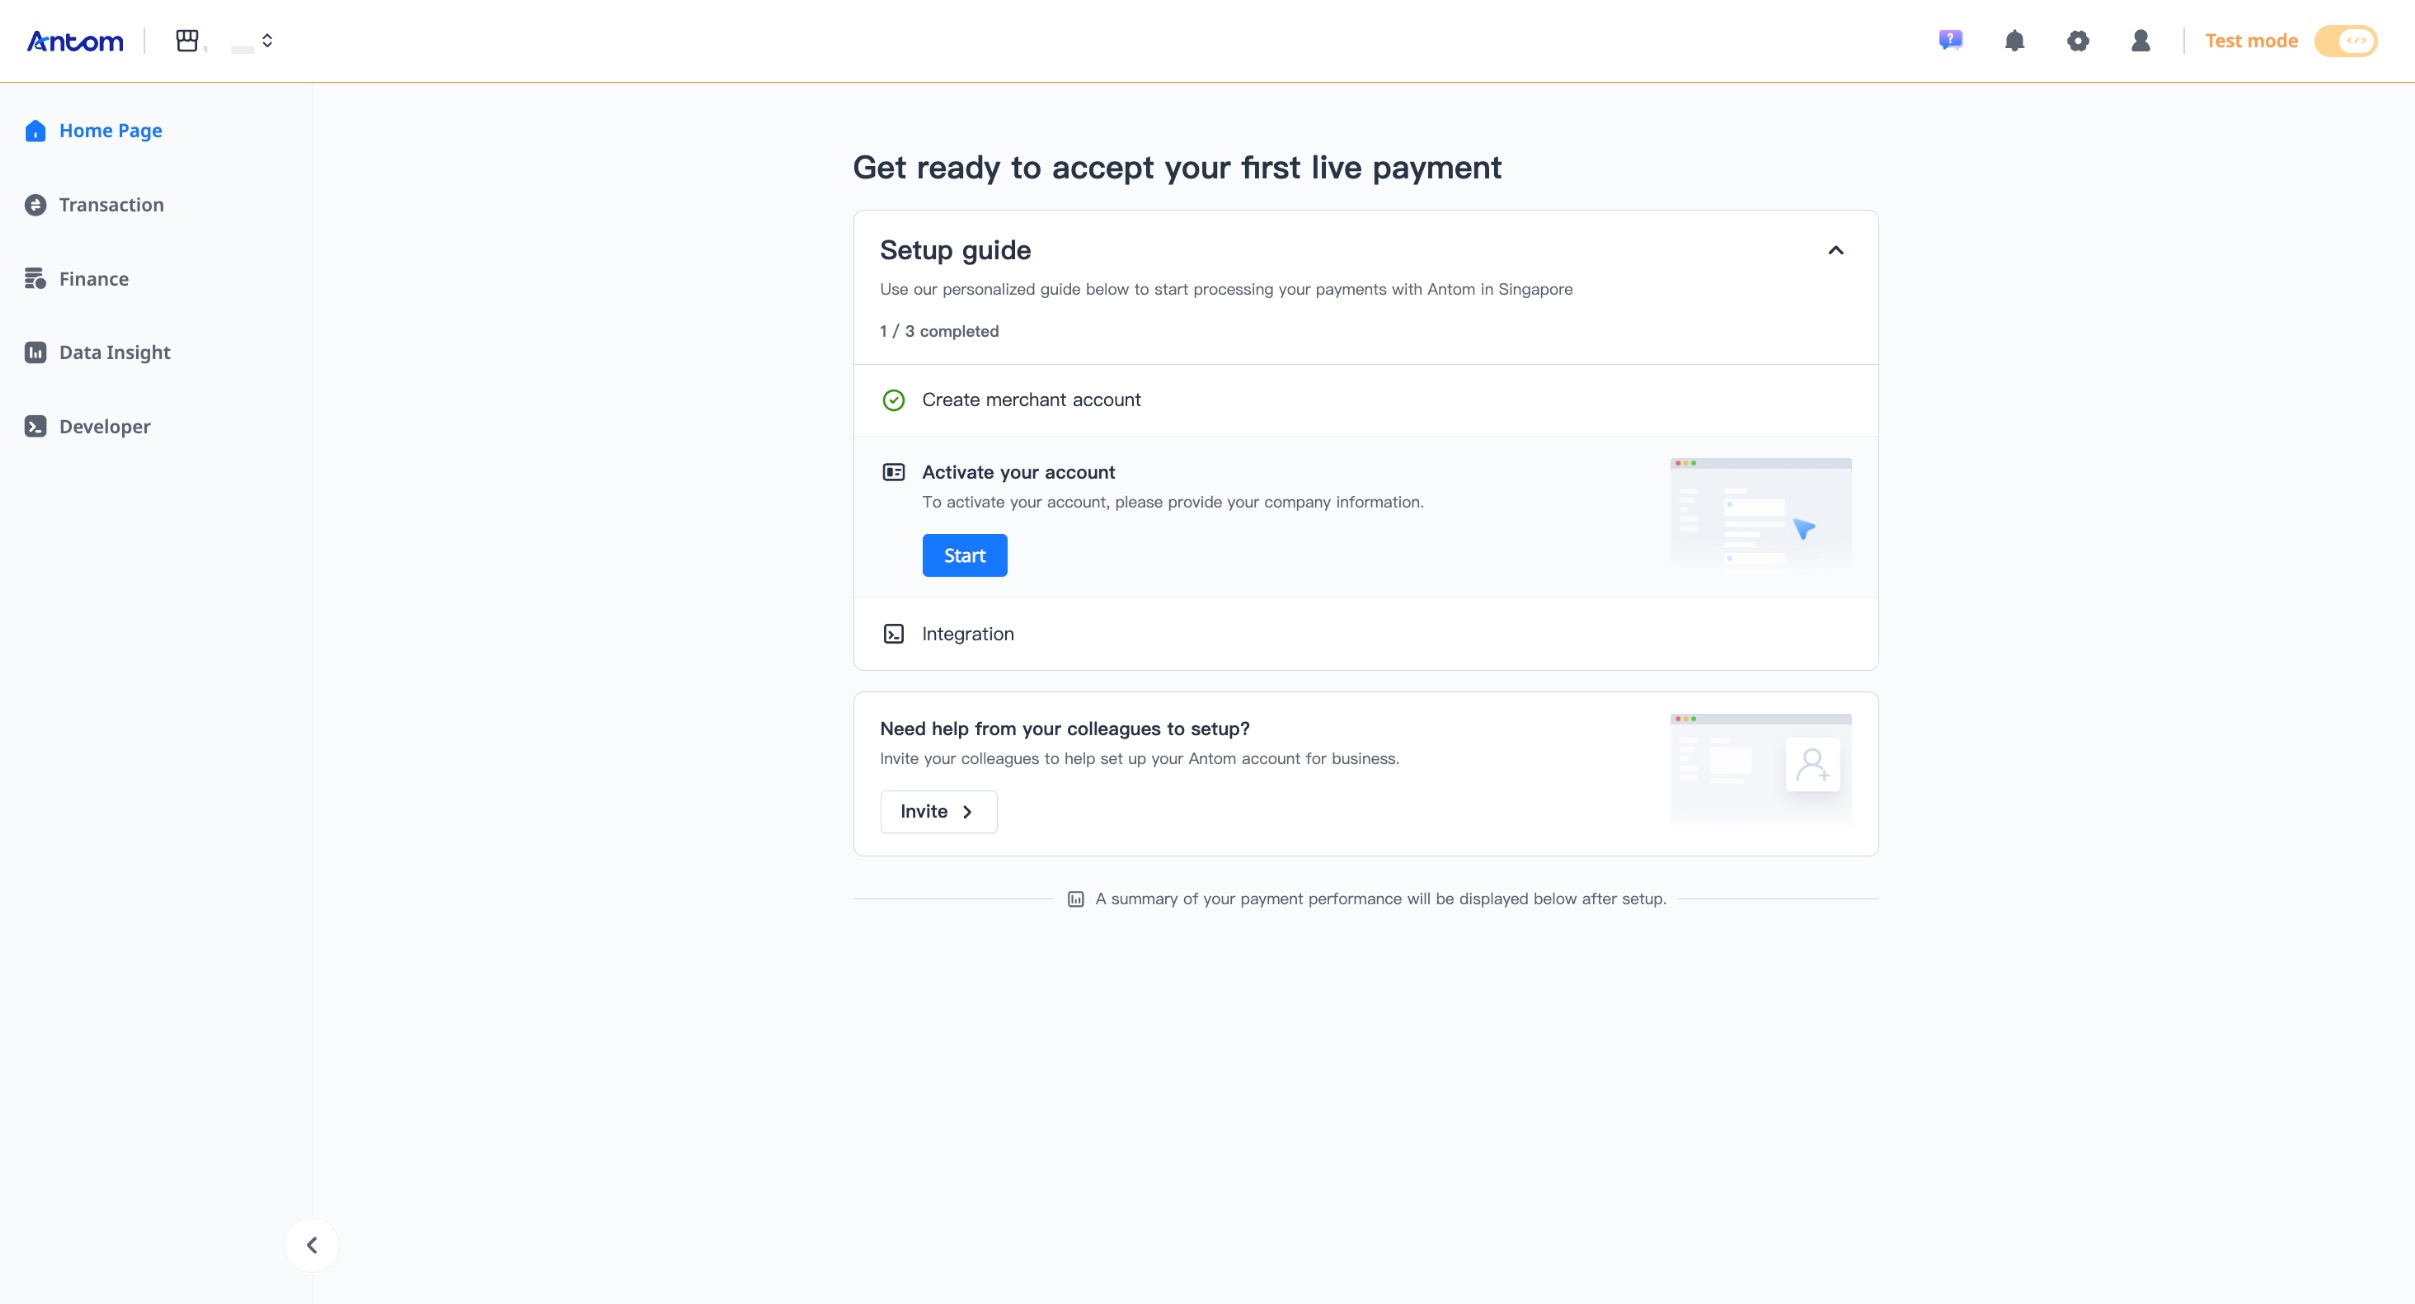
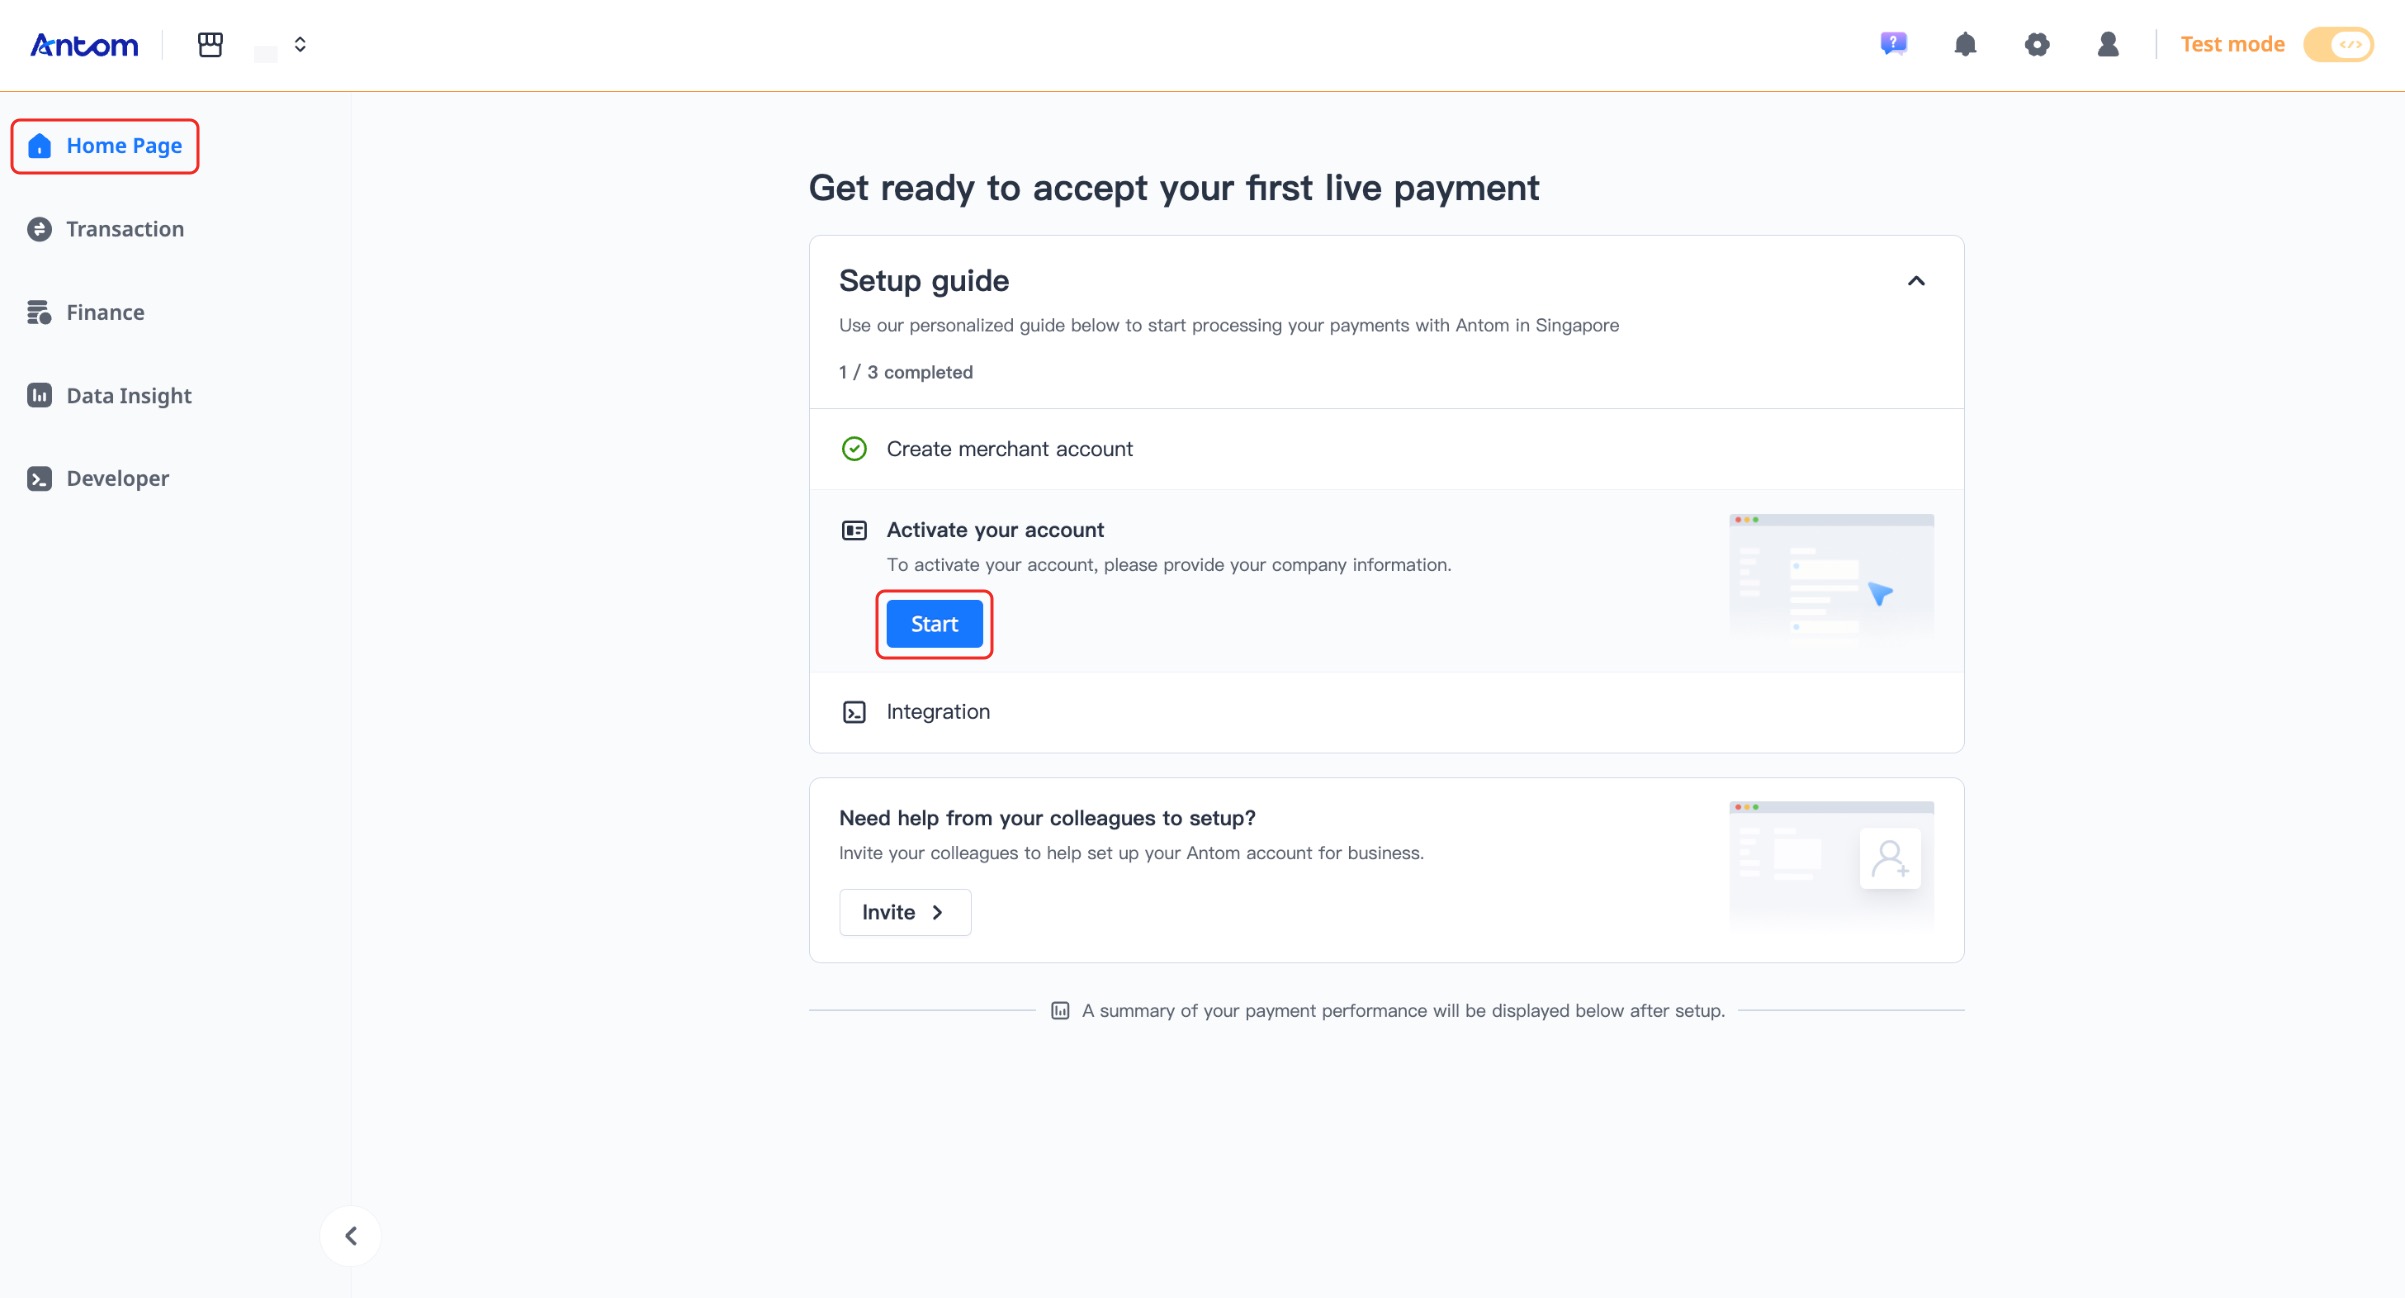
Enter Antom Dashboard and click Start on the Home Page to register a merchant account.
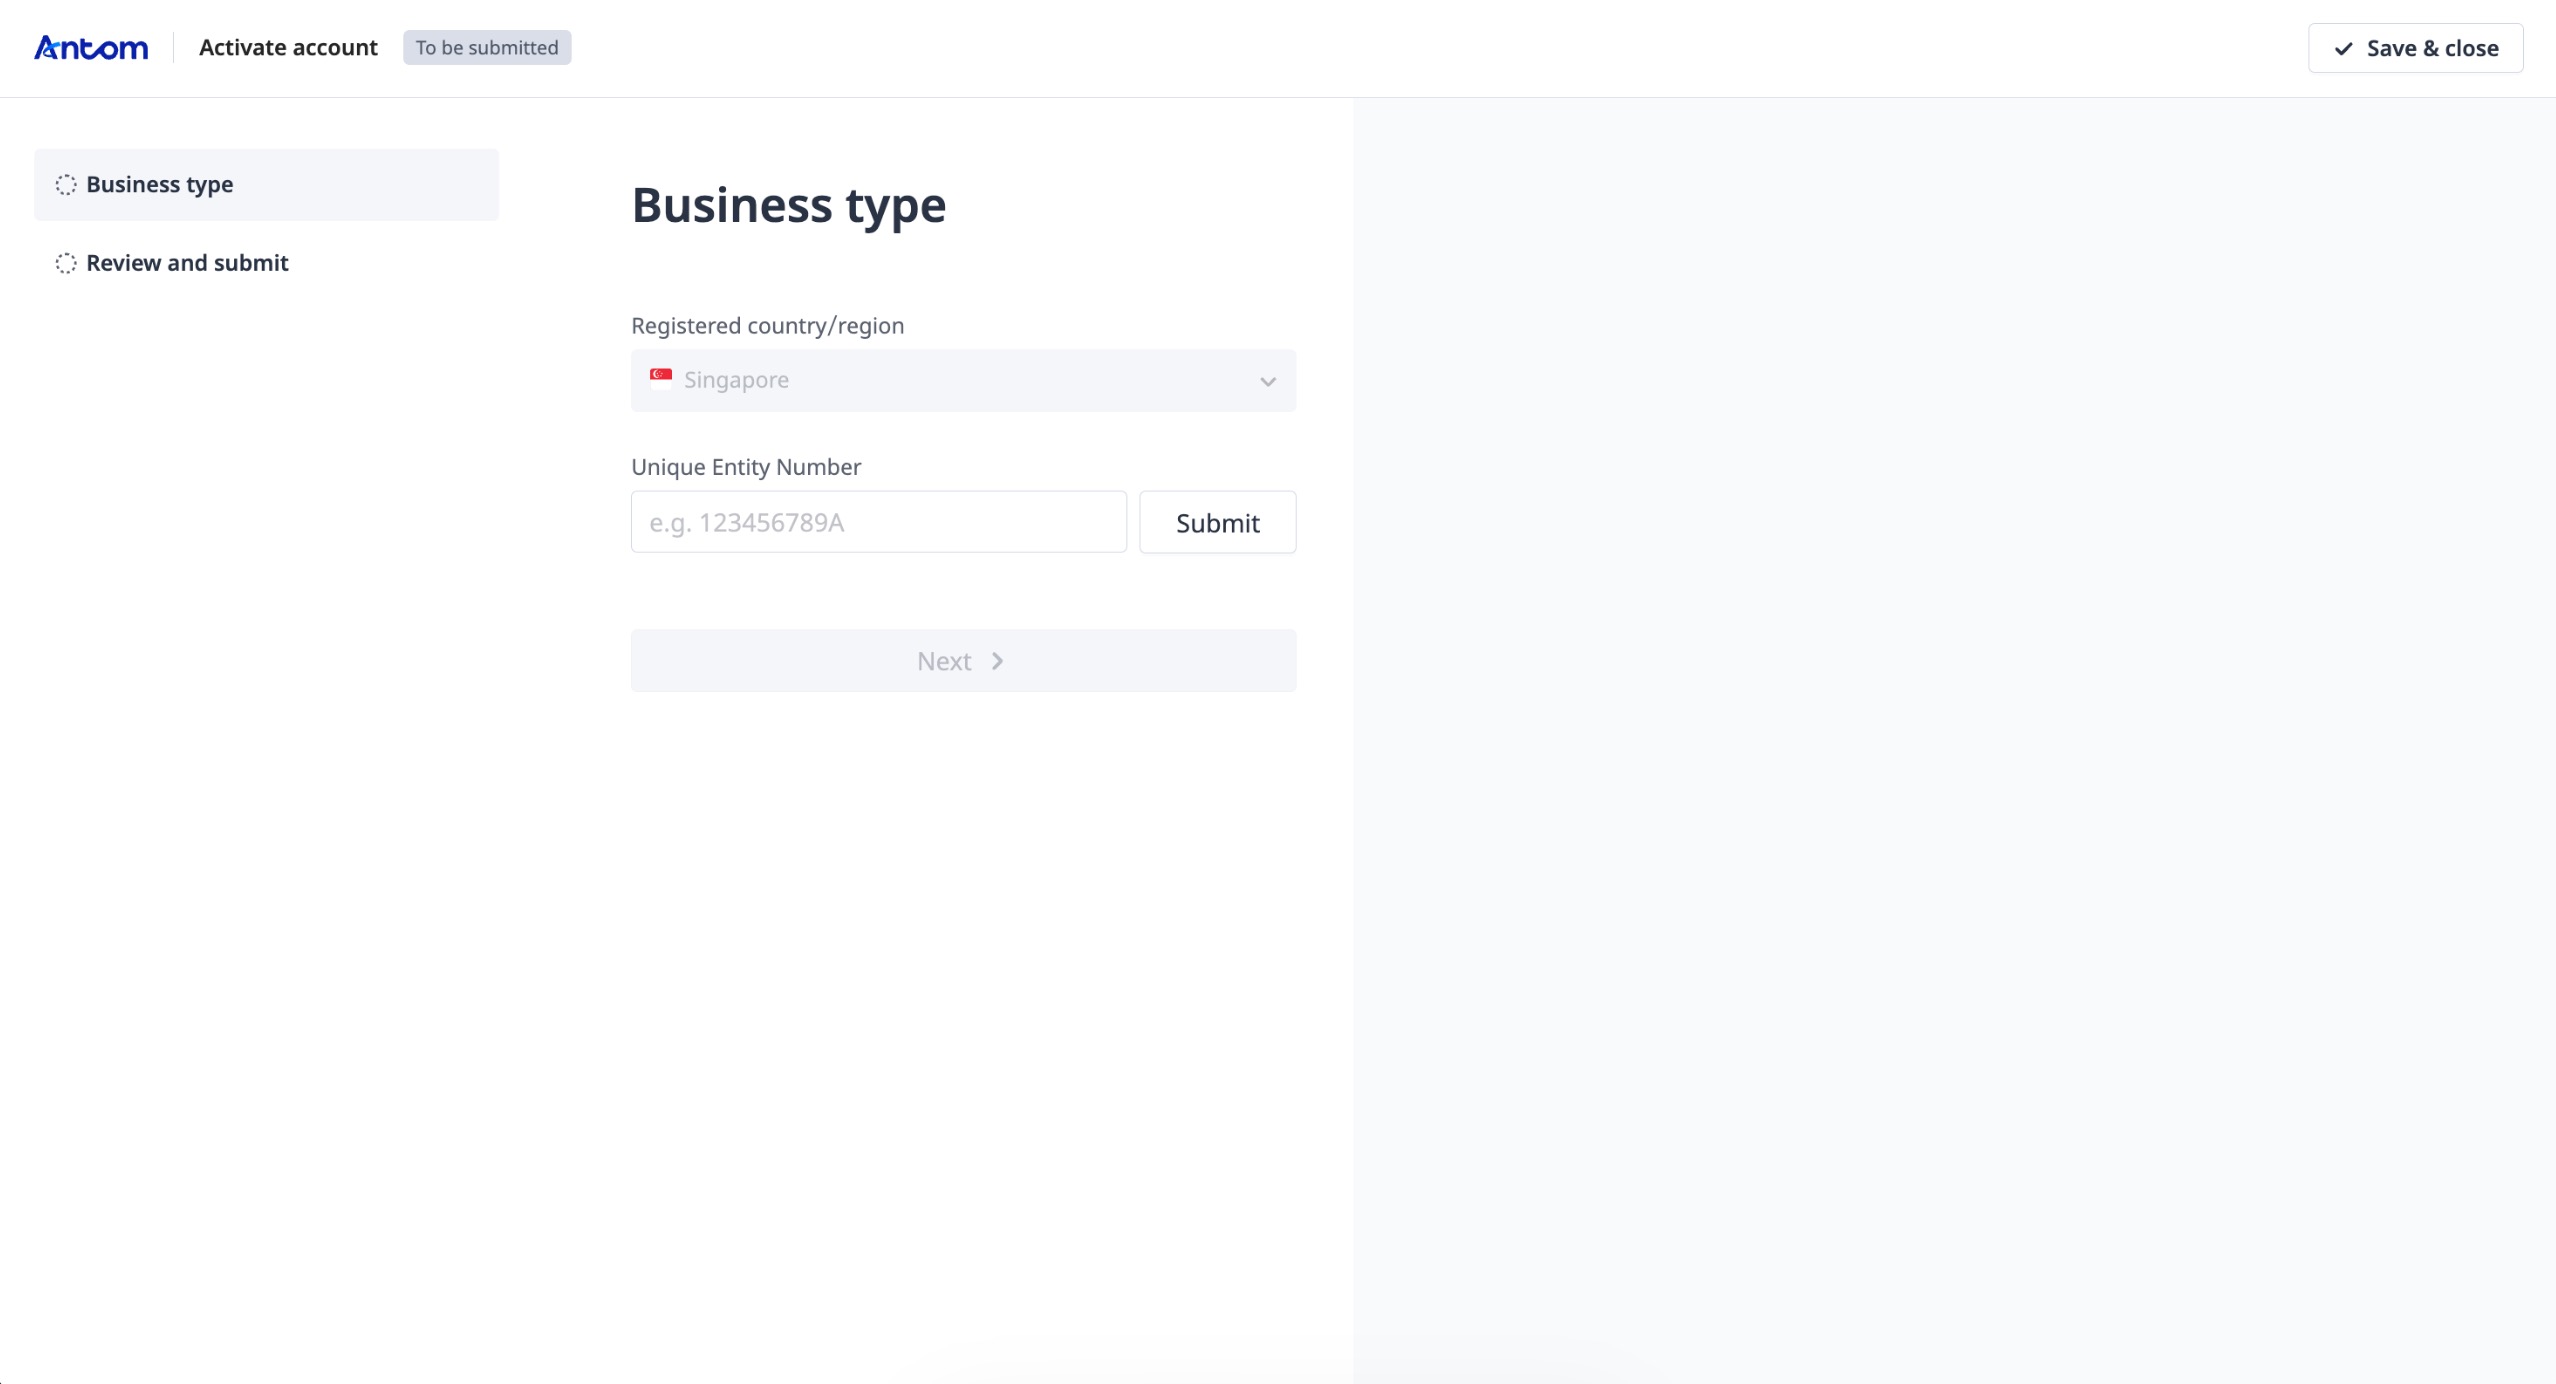
Fill in the Business type information. Unique Entity Number is a required field. Click Next > to proceed.
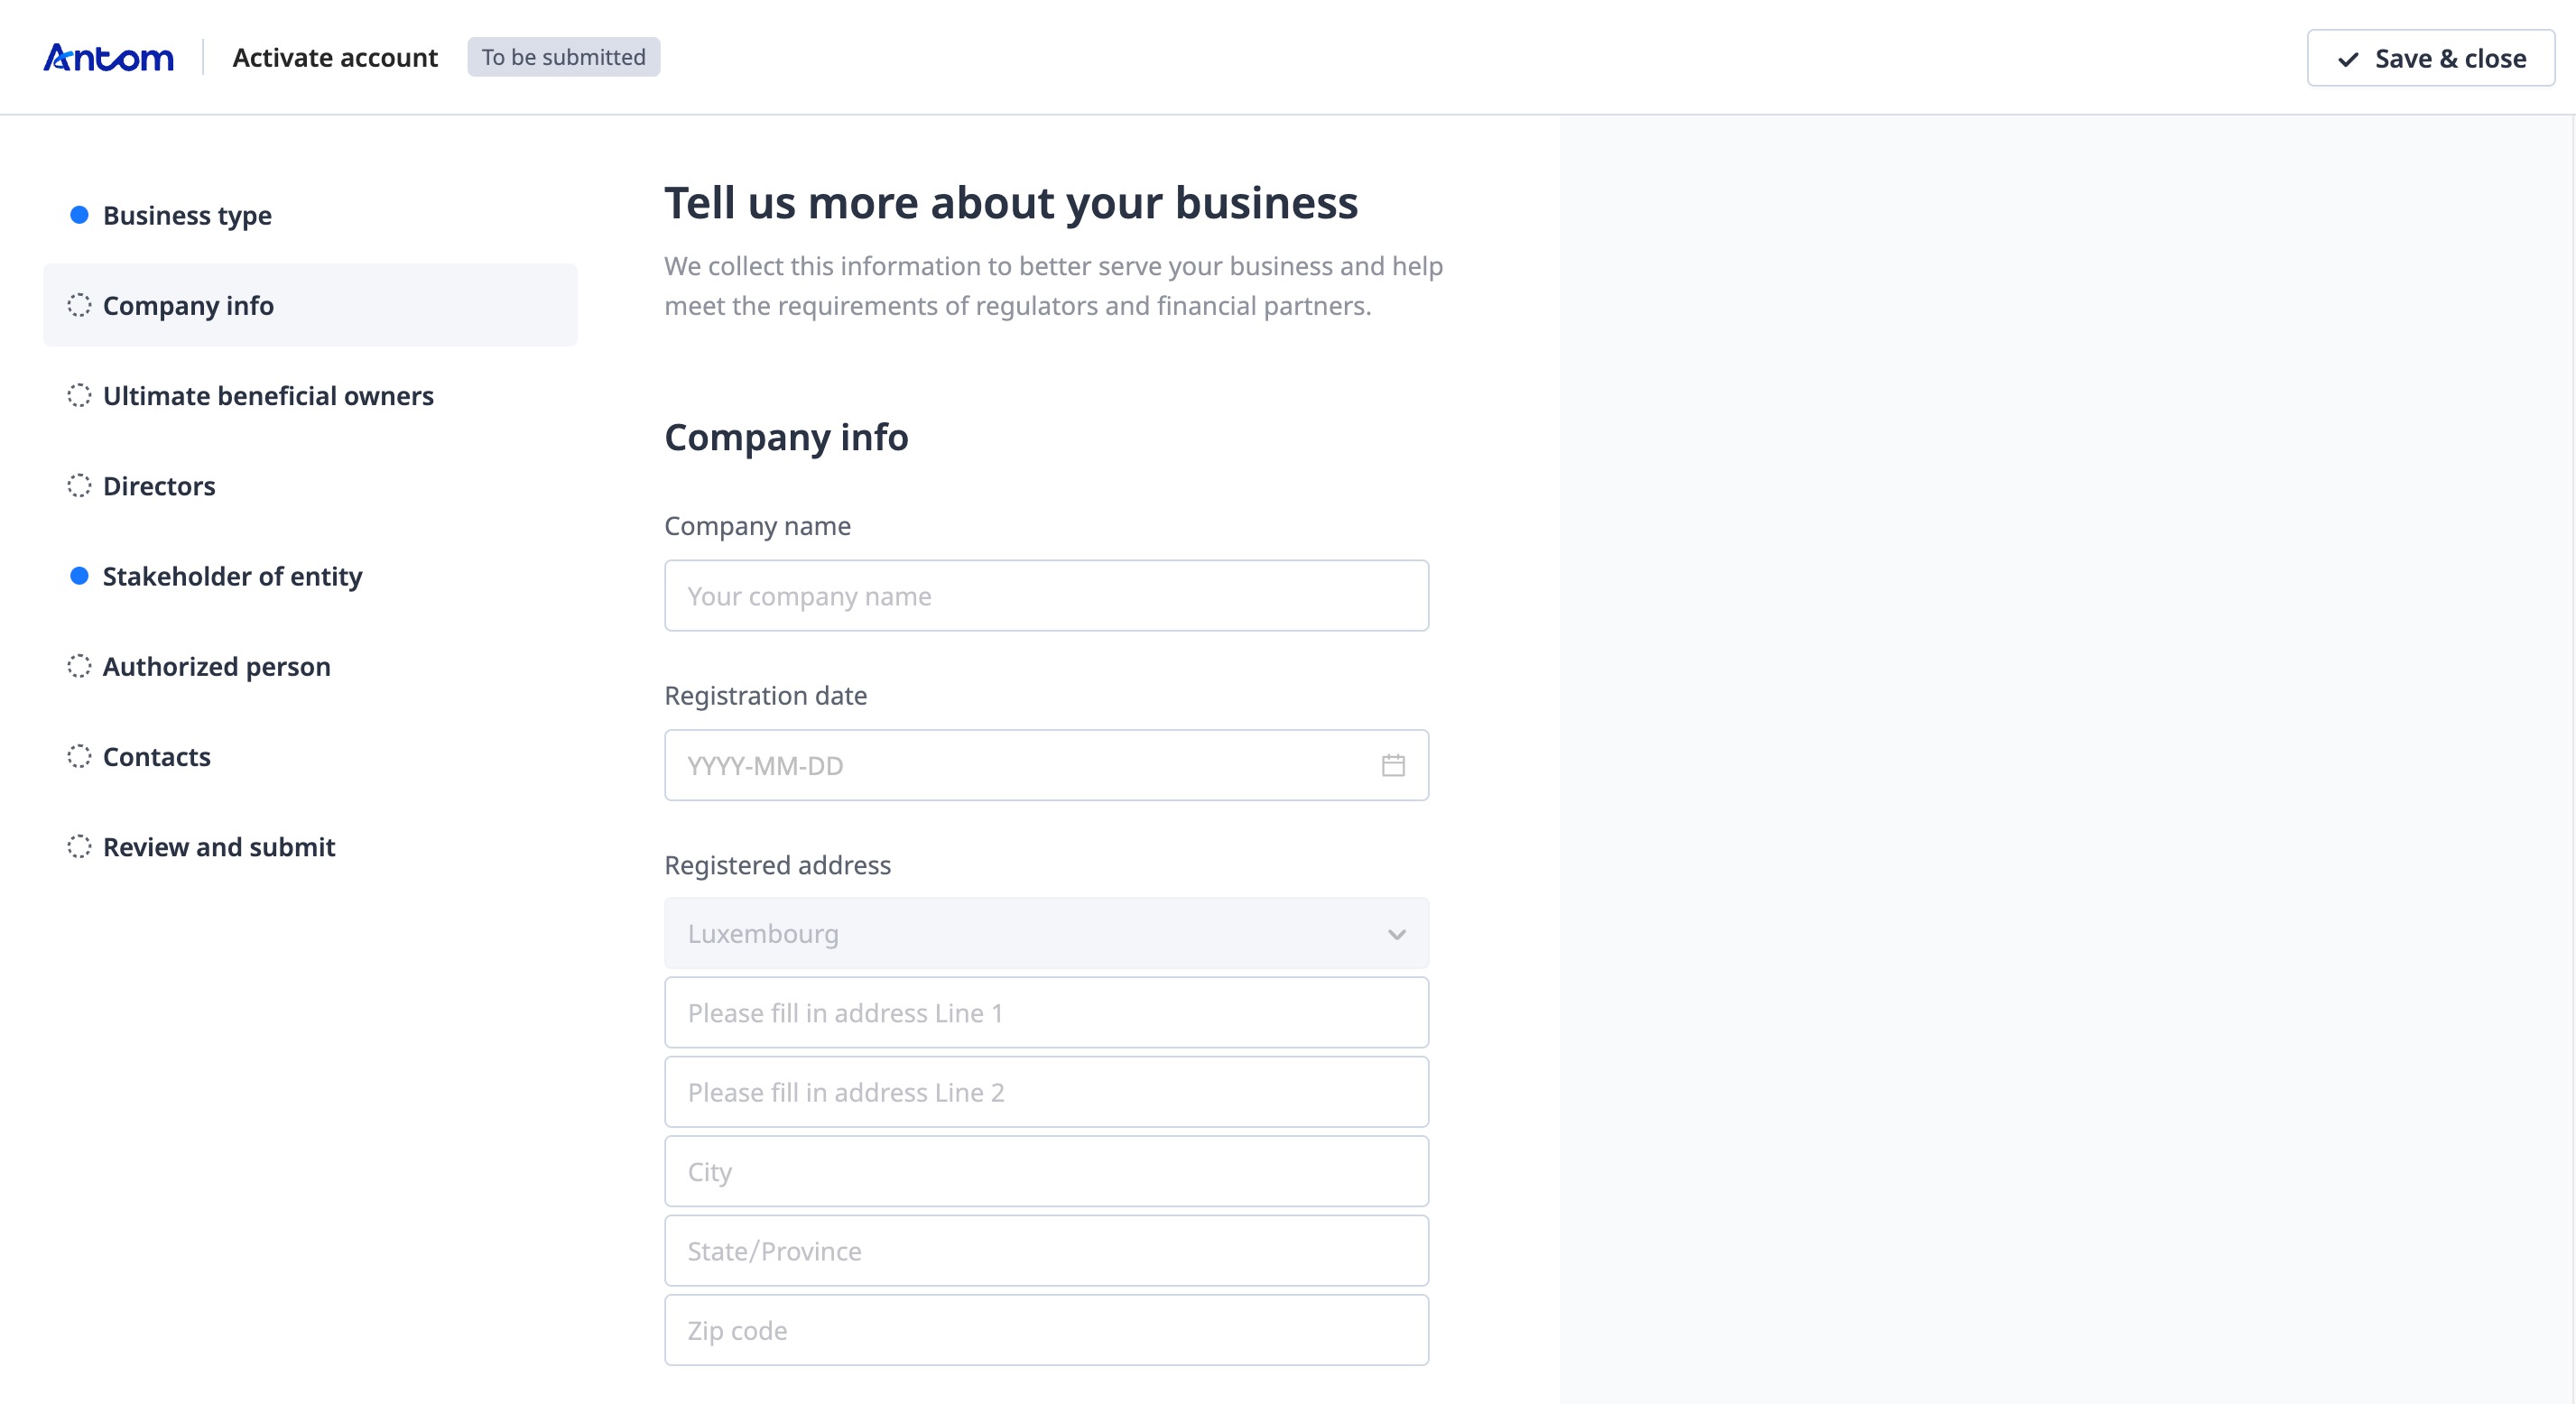
Different countries or regions have different sets of modules to fill up. The example shown is for Luxembourg. If registering in the United States, you need to fill in Company info, Ultimate beneficial owners, Directors, Authorized person, Shareholder of entity, Contacts, and Review and submit.
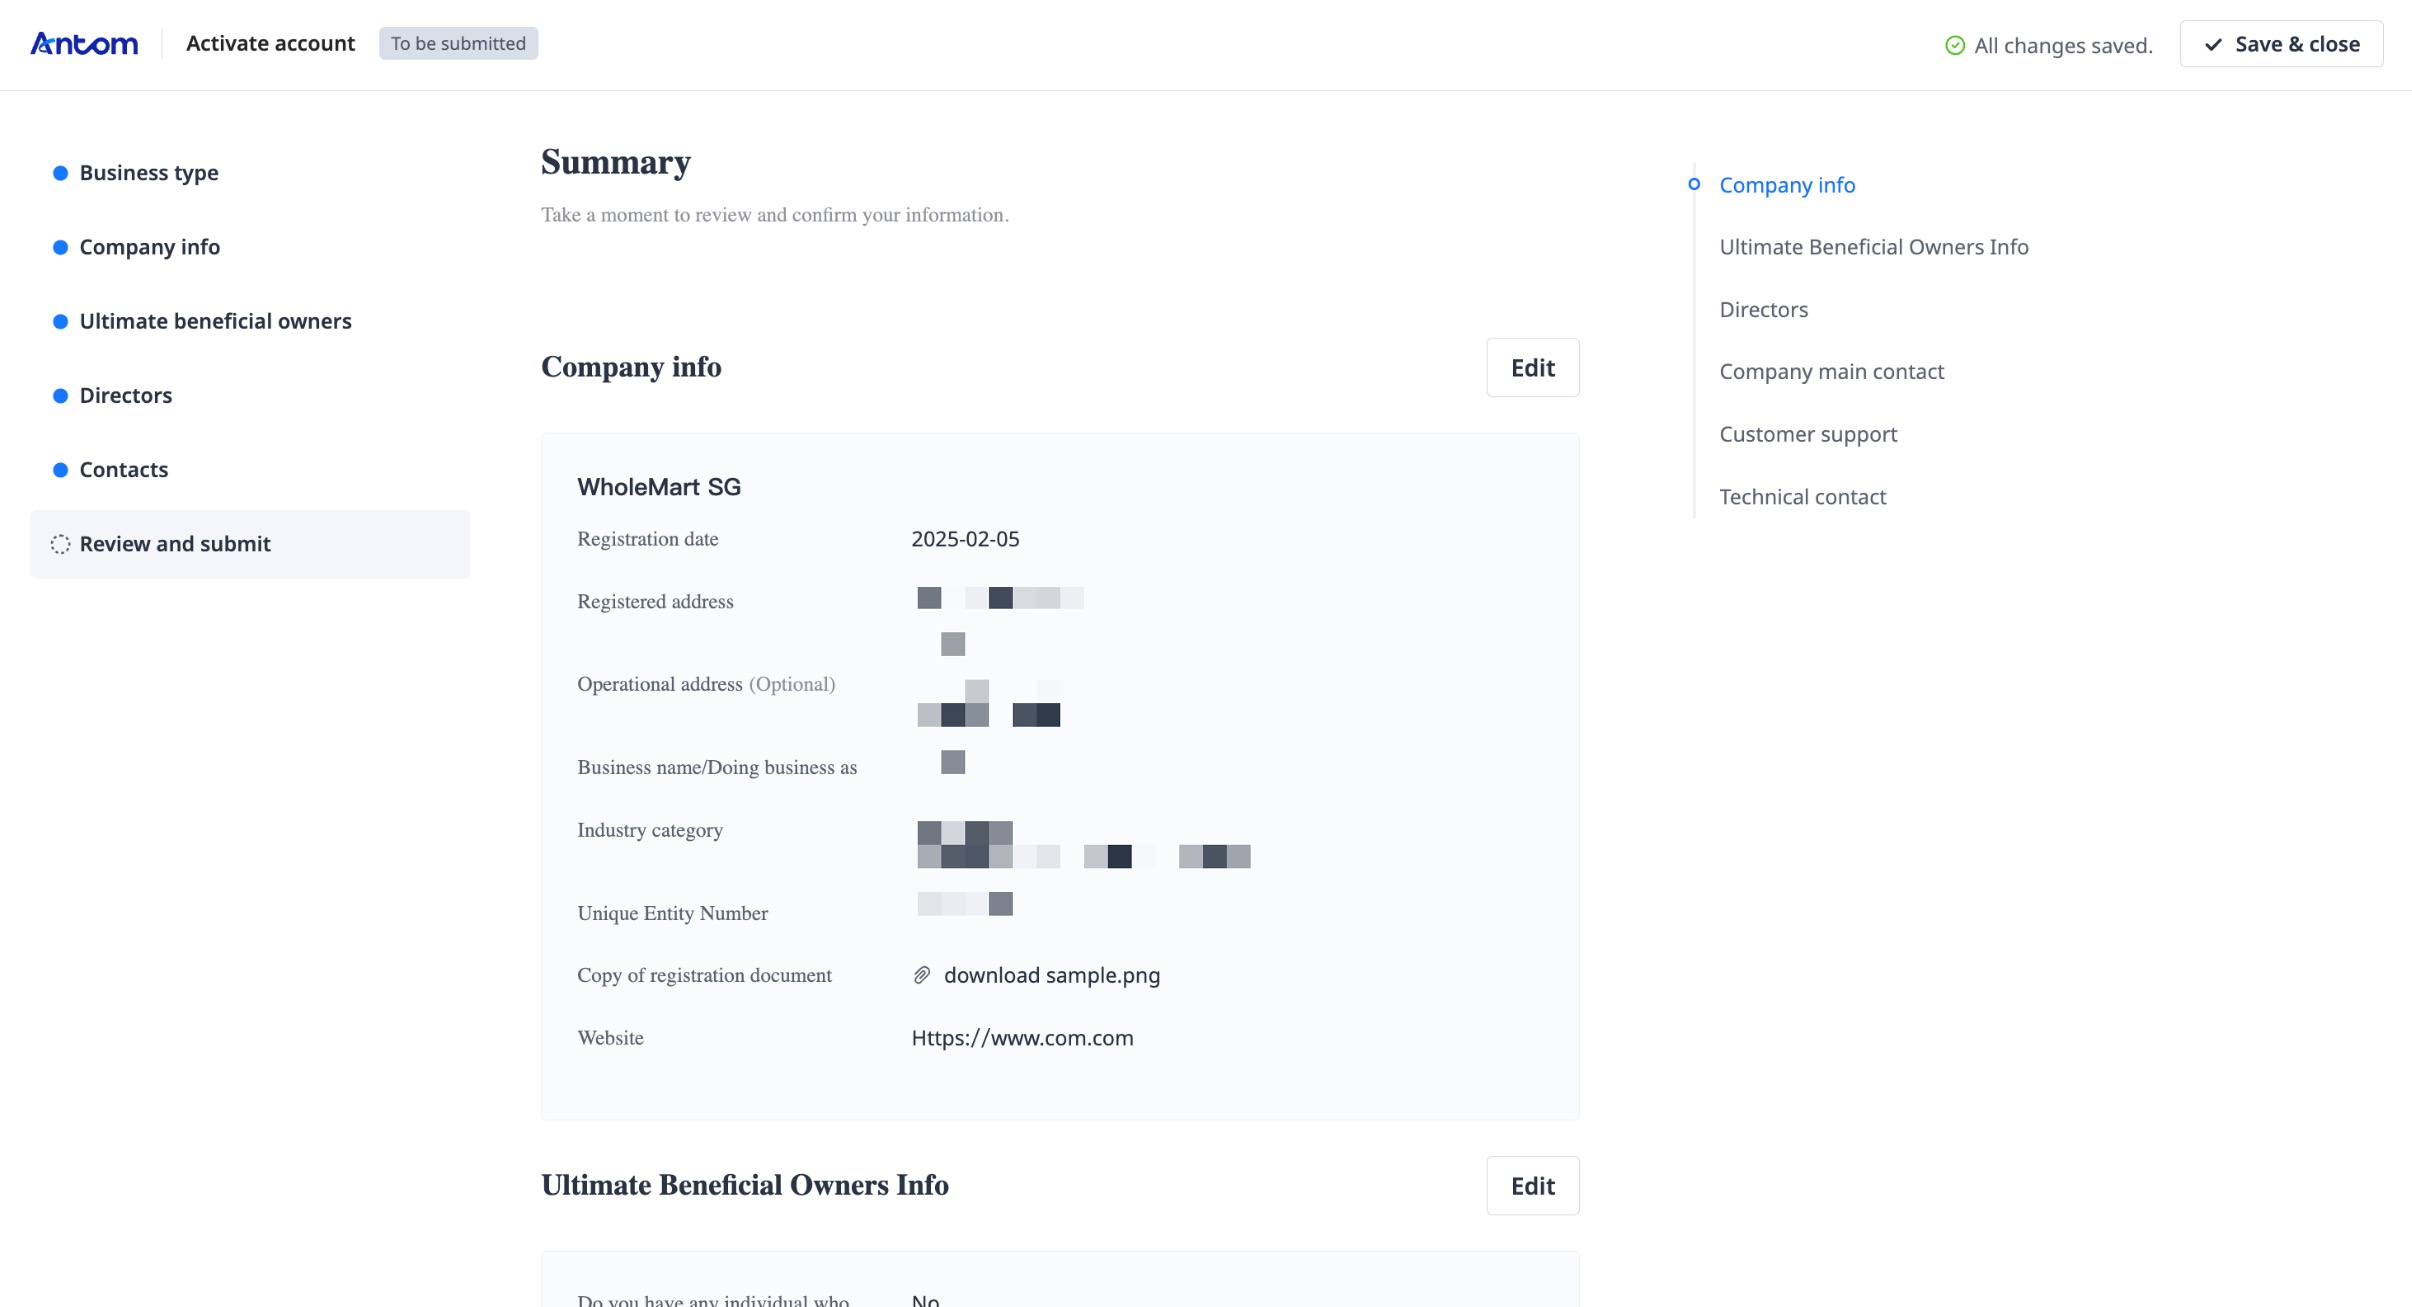
Review the completed information in the Summary section, accept the Terms and Conditions, and click Confirm and submit to complete the information submission.
The Home Page displays the progress of your current registration process. The review result may take up to 1 business day.
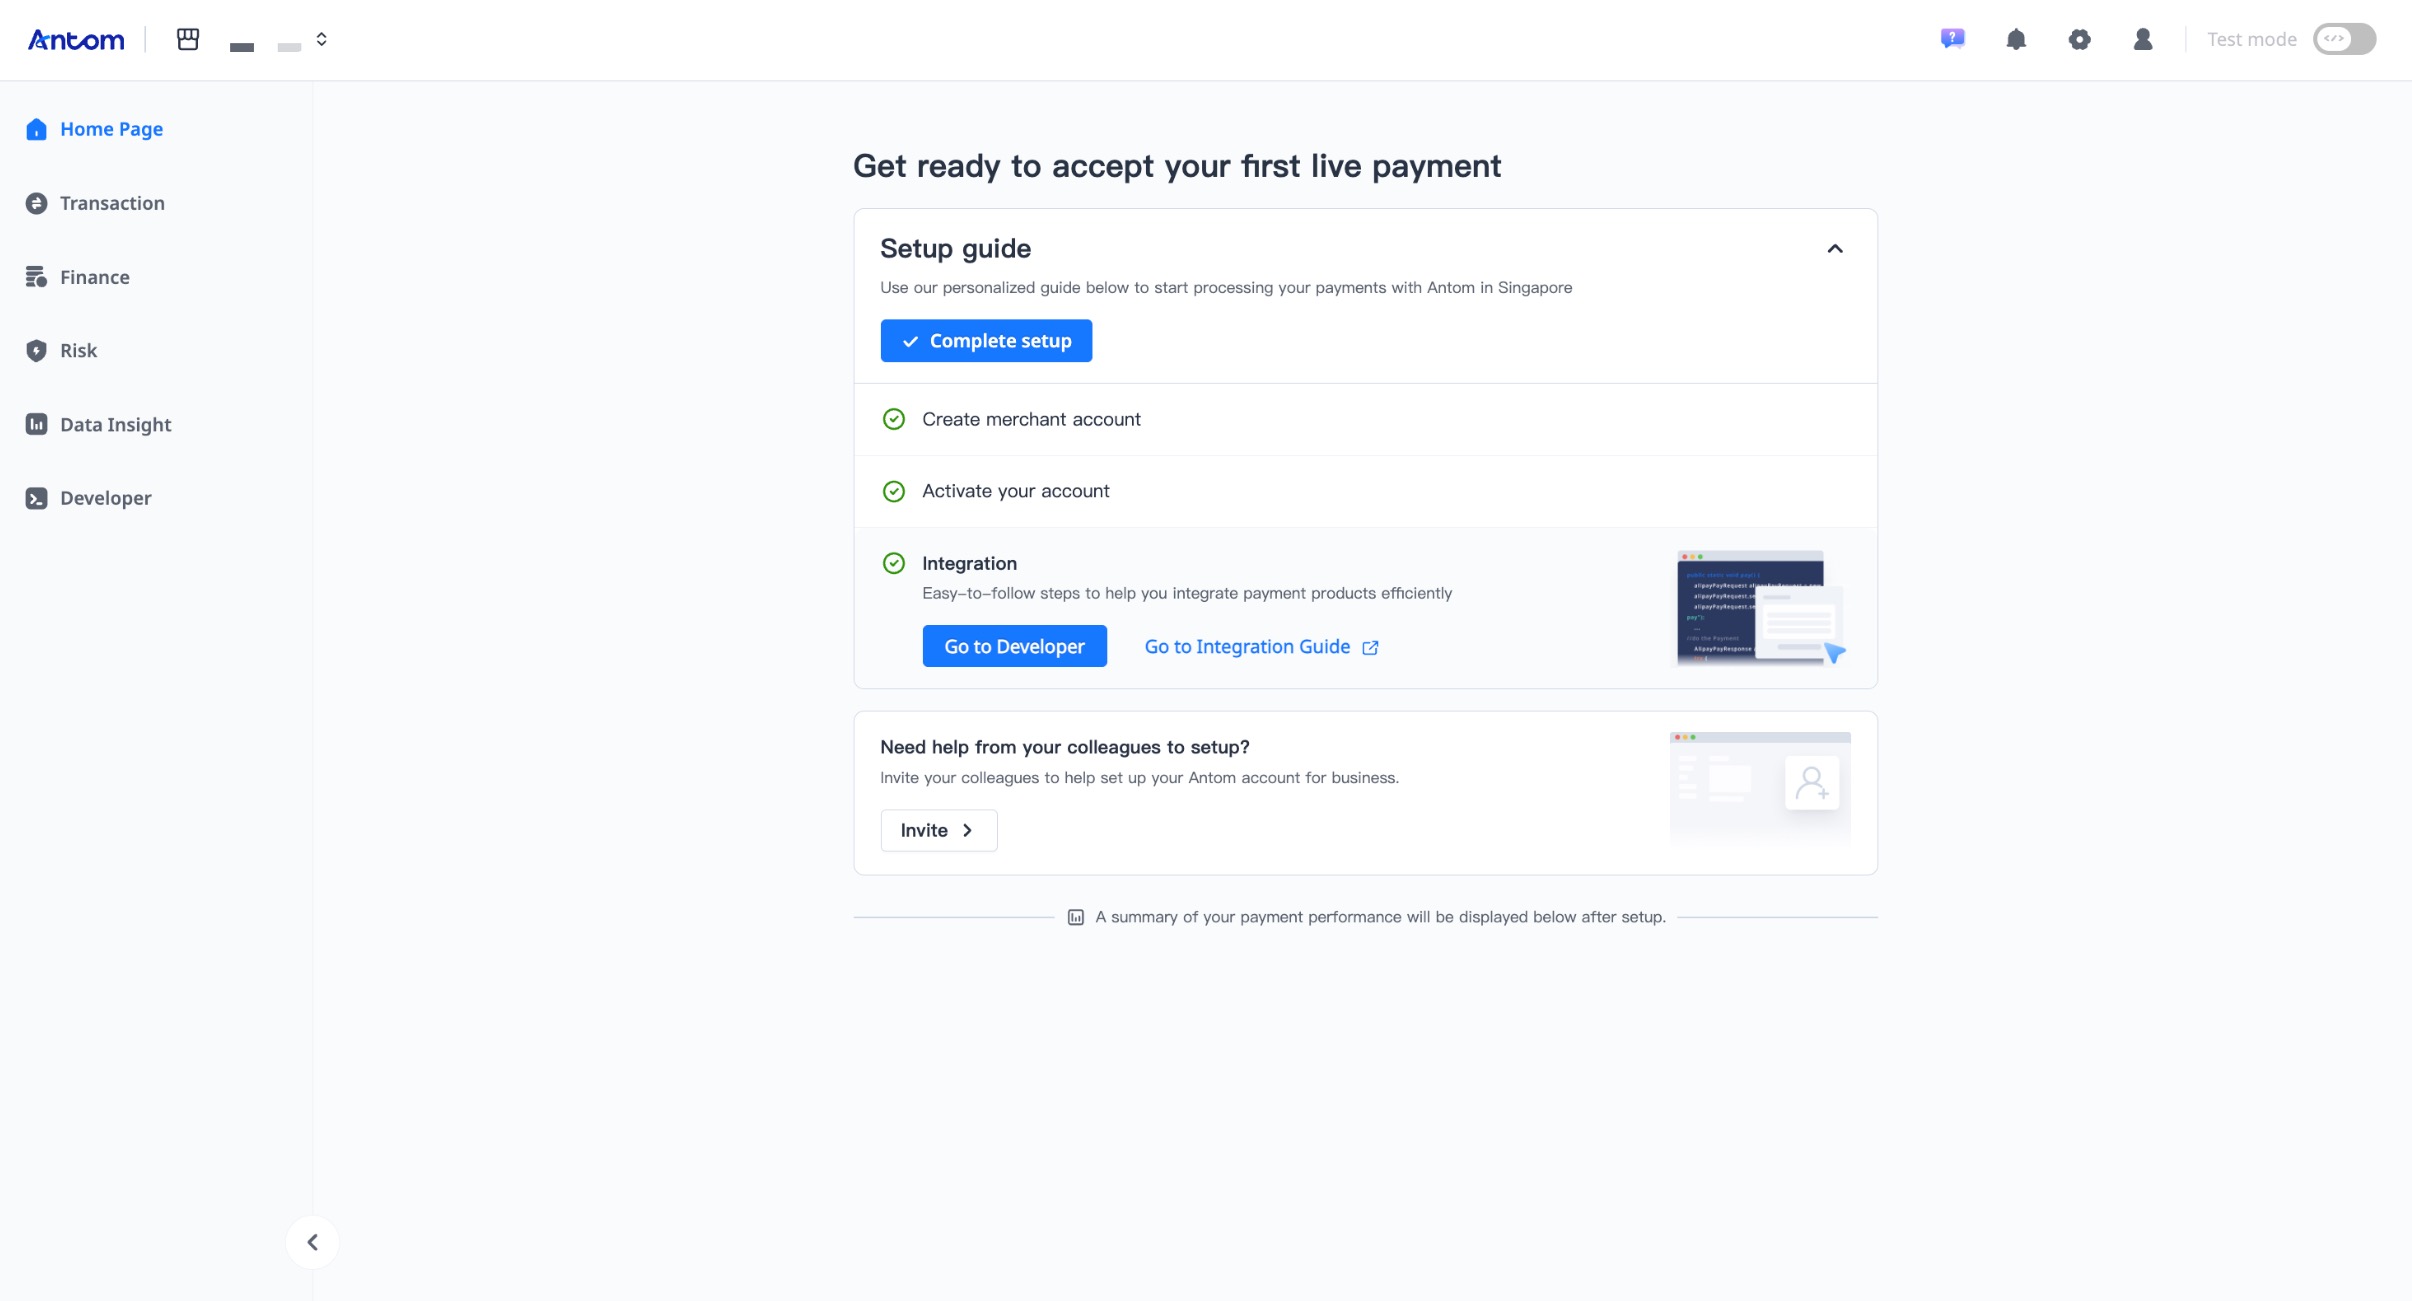
Step 4: Activate merchant account
Once your merchant account application has been reviewed, Antom will send you an email.
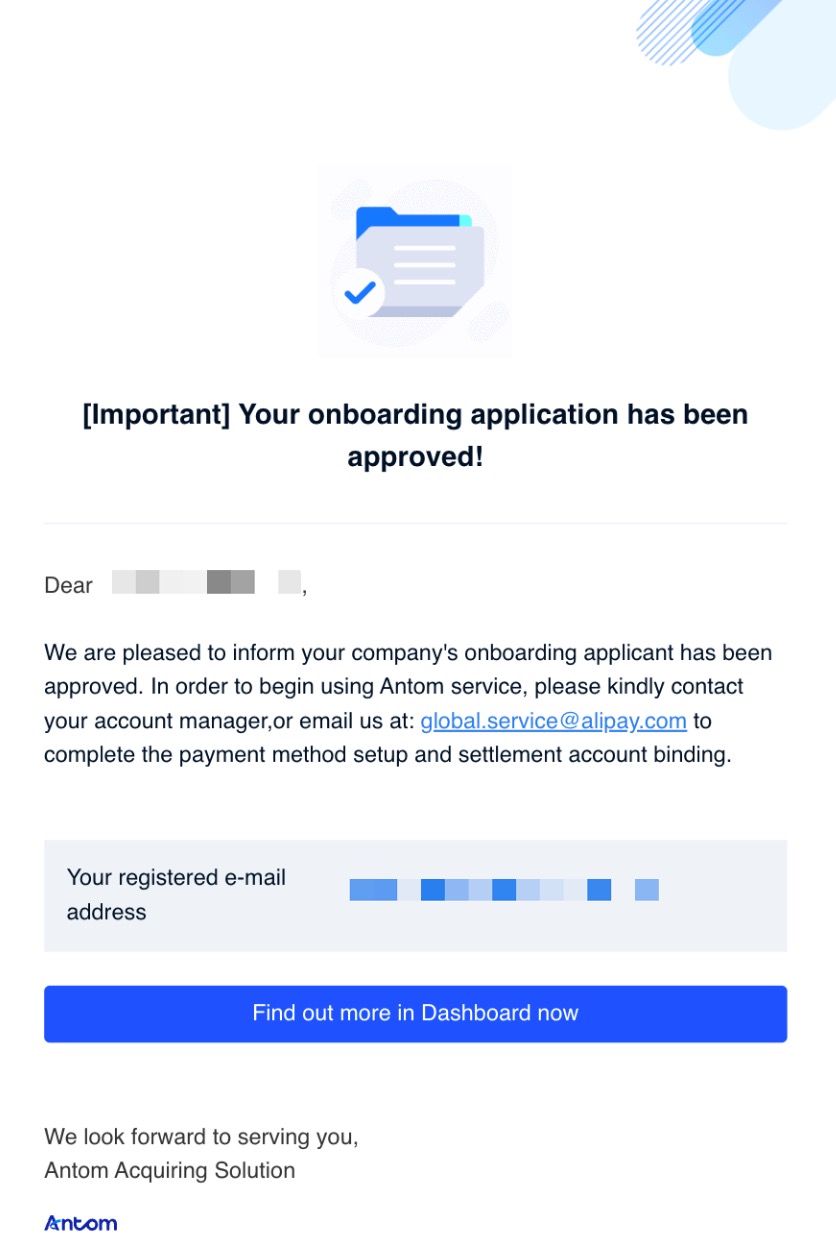
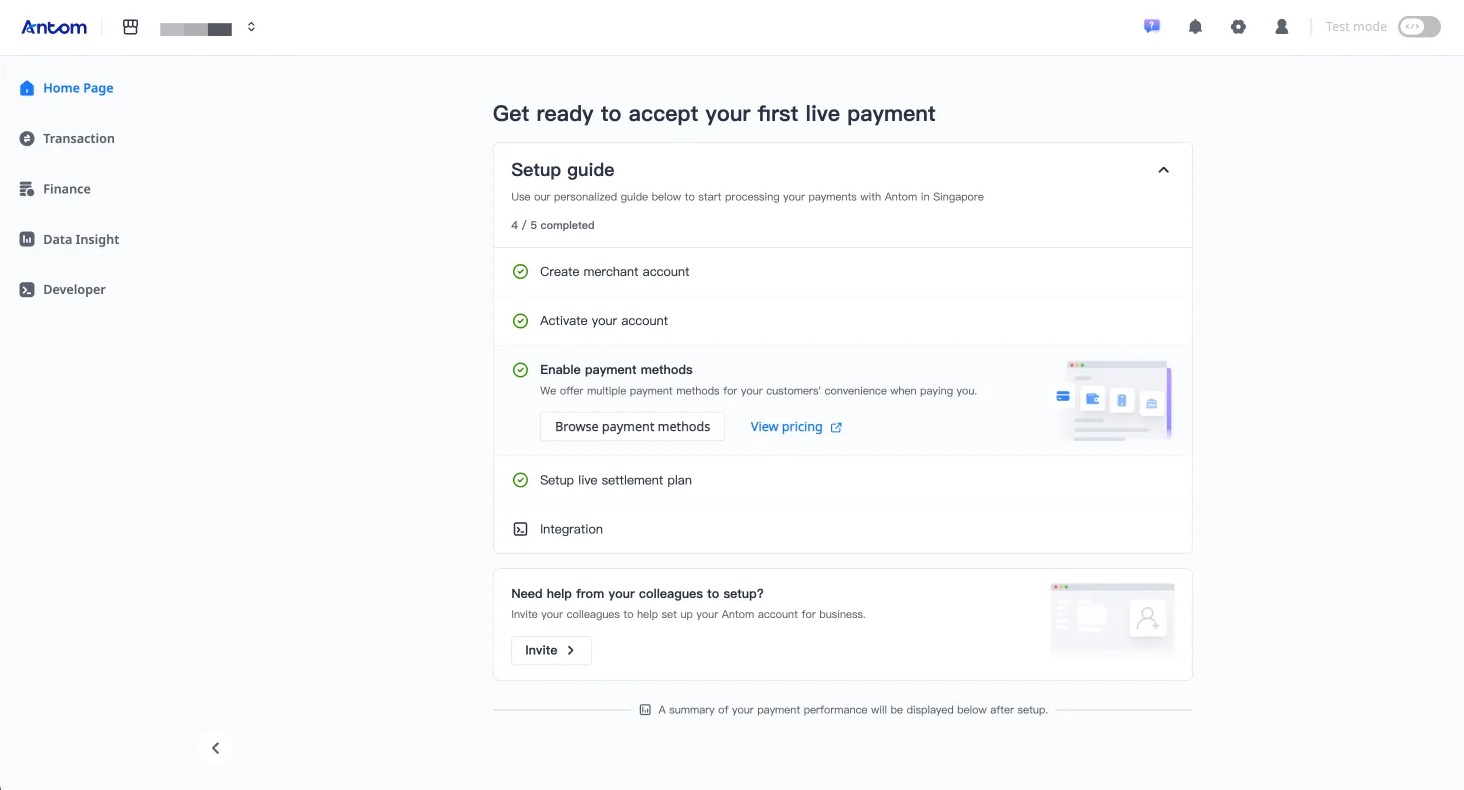
After the account is successfully activated, you can activate the corresponding payment method according to your business needs. For more information about the activation process of payment methods, refer to Enable payment methods.
Add more merchant accounts
Once you have completed the merchant account registration in Step 3, you can add one or more new merchant accounts as follows:
- Click the Shop icon and then click + Create a merchant account to create a new merchant account.
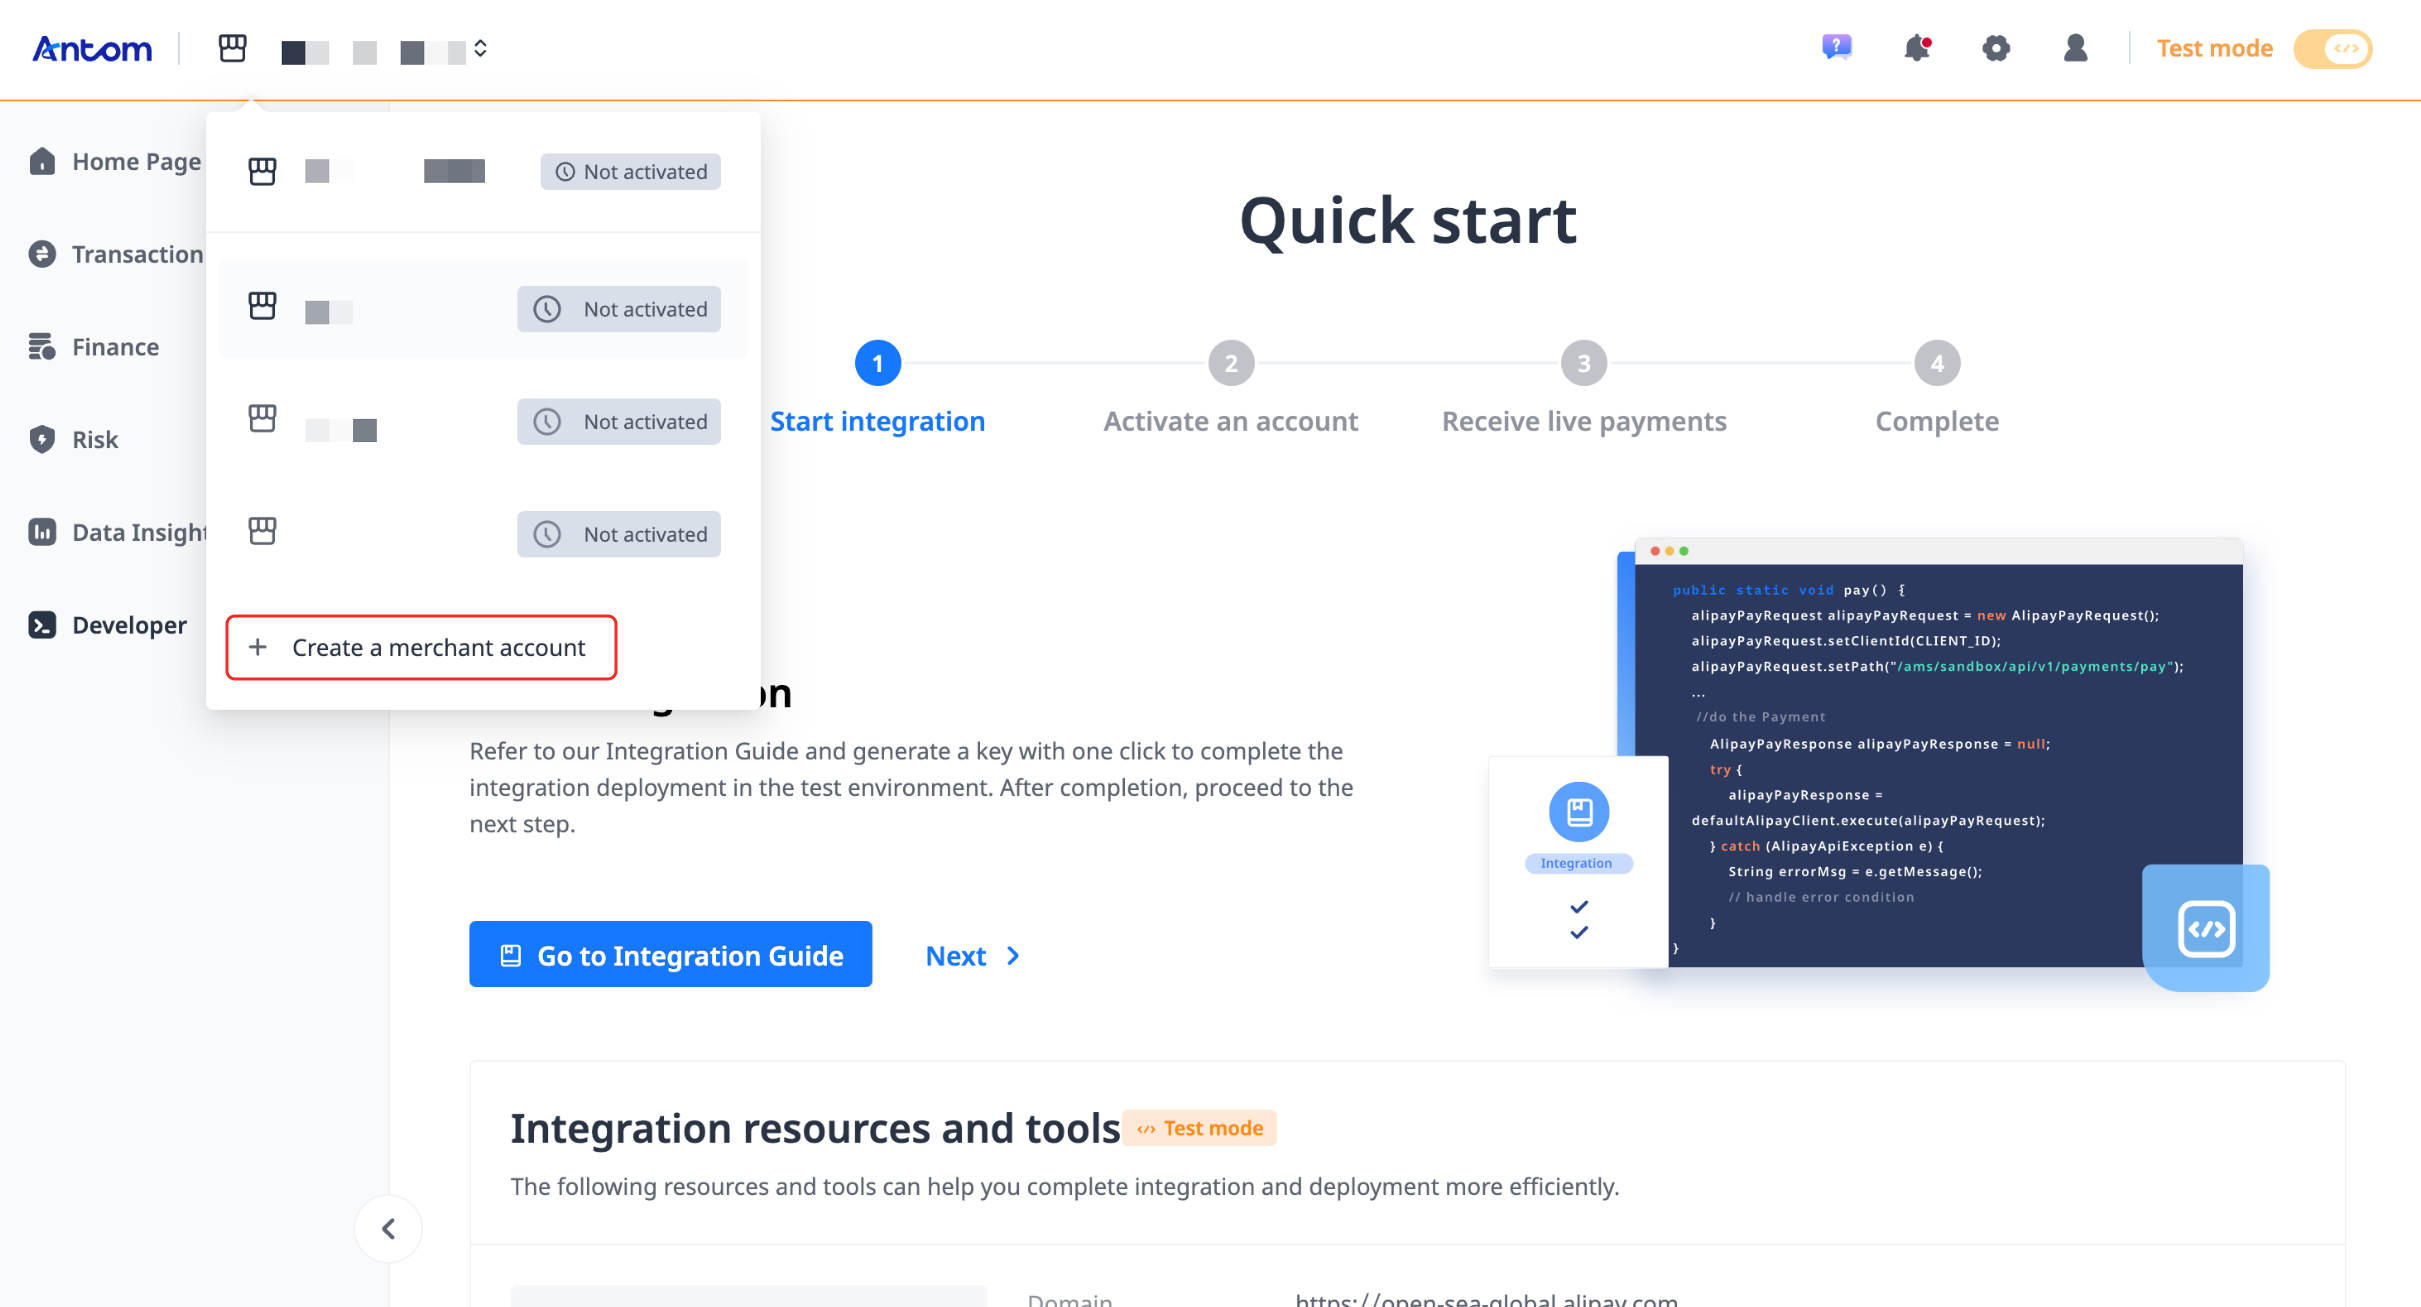
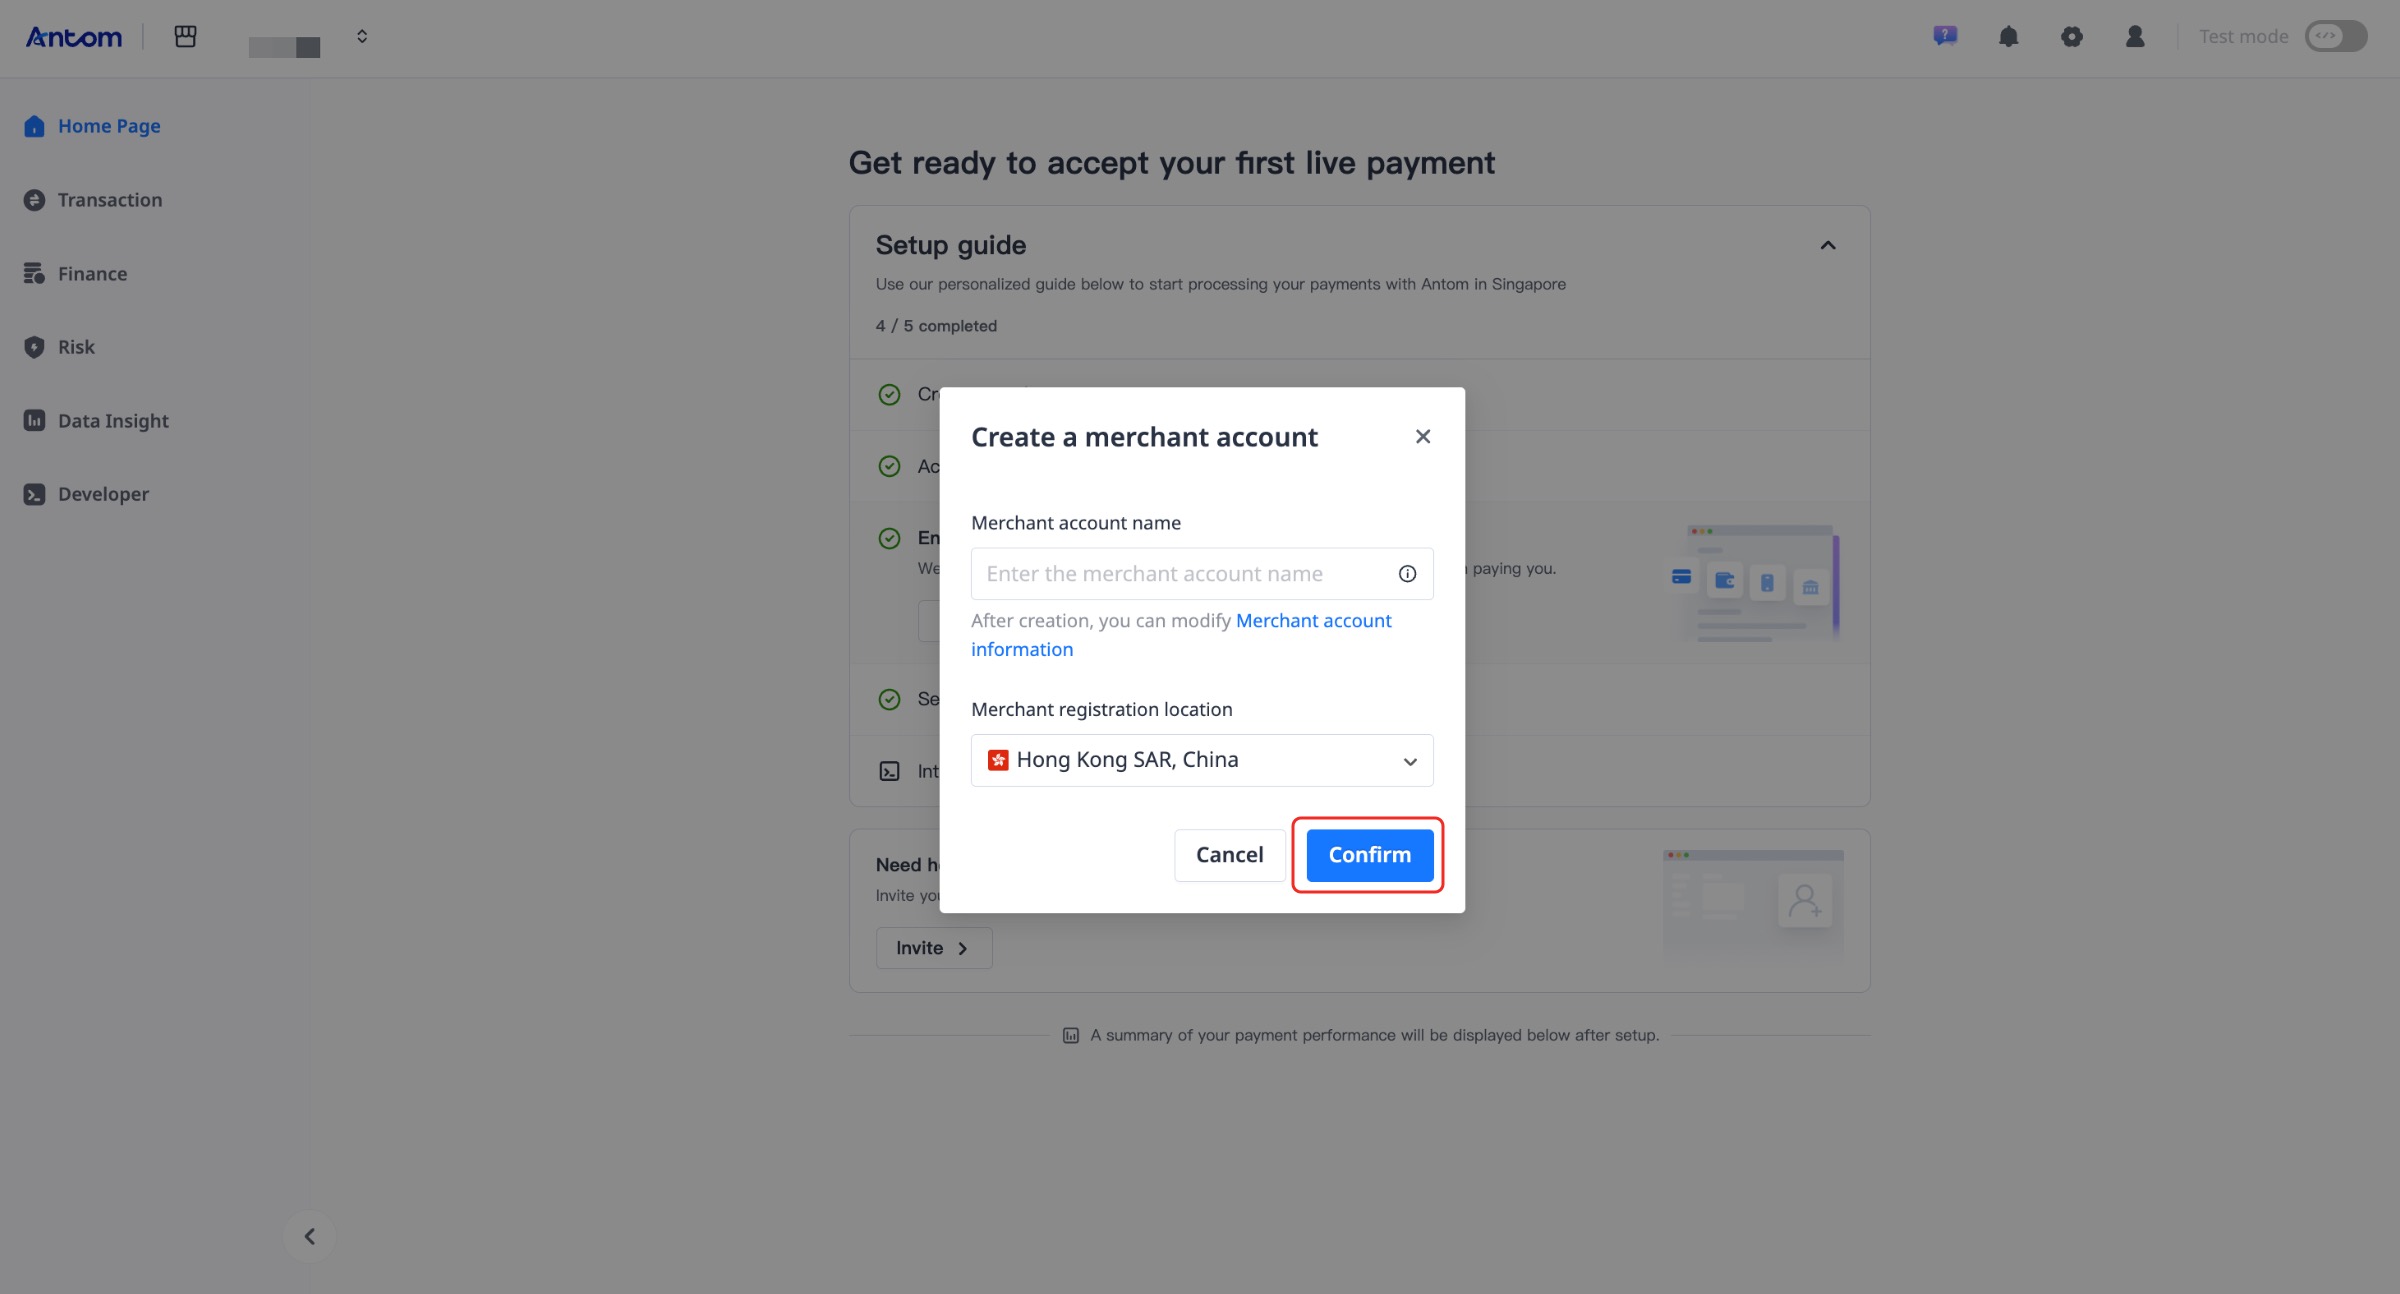
- Fill in the merchant account name and registration placed on the pop-up page, then click Confirm. You will be automatically redirected to the Home Page after successfully creating a new merchant account.
|
|
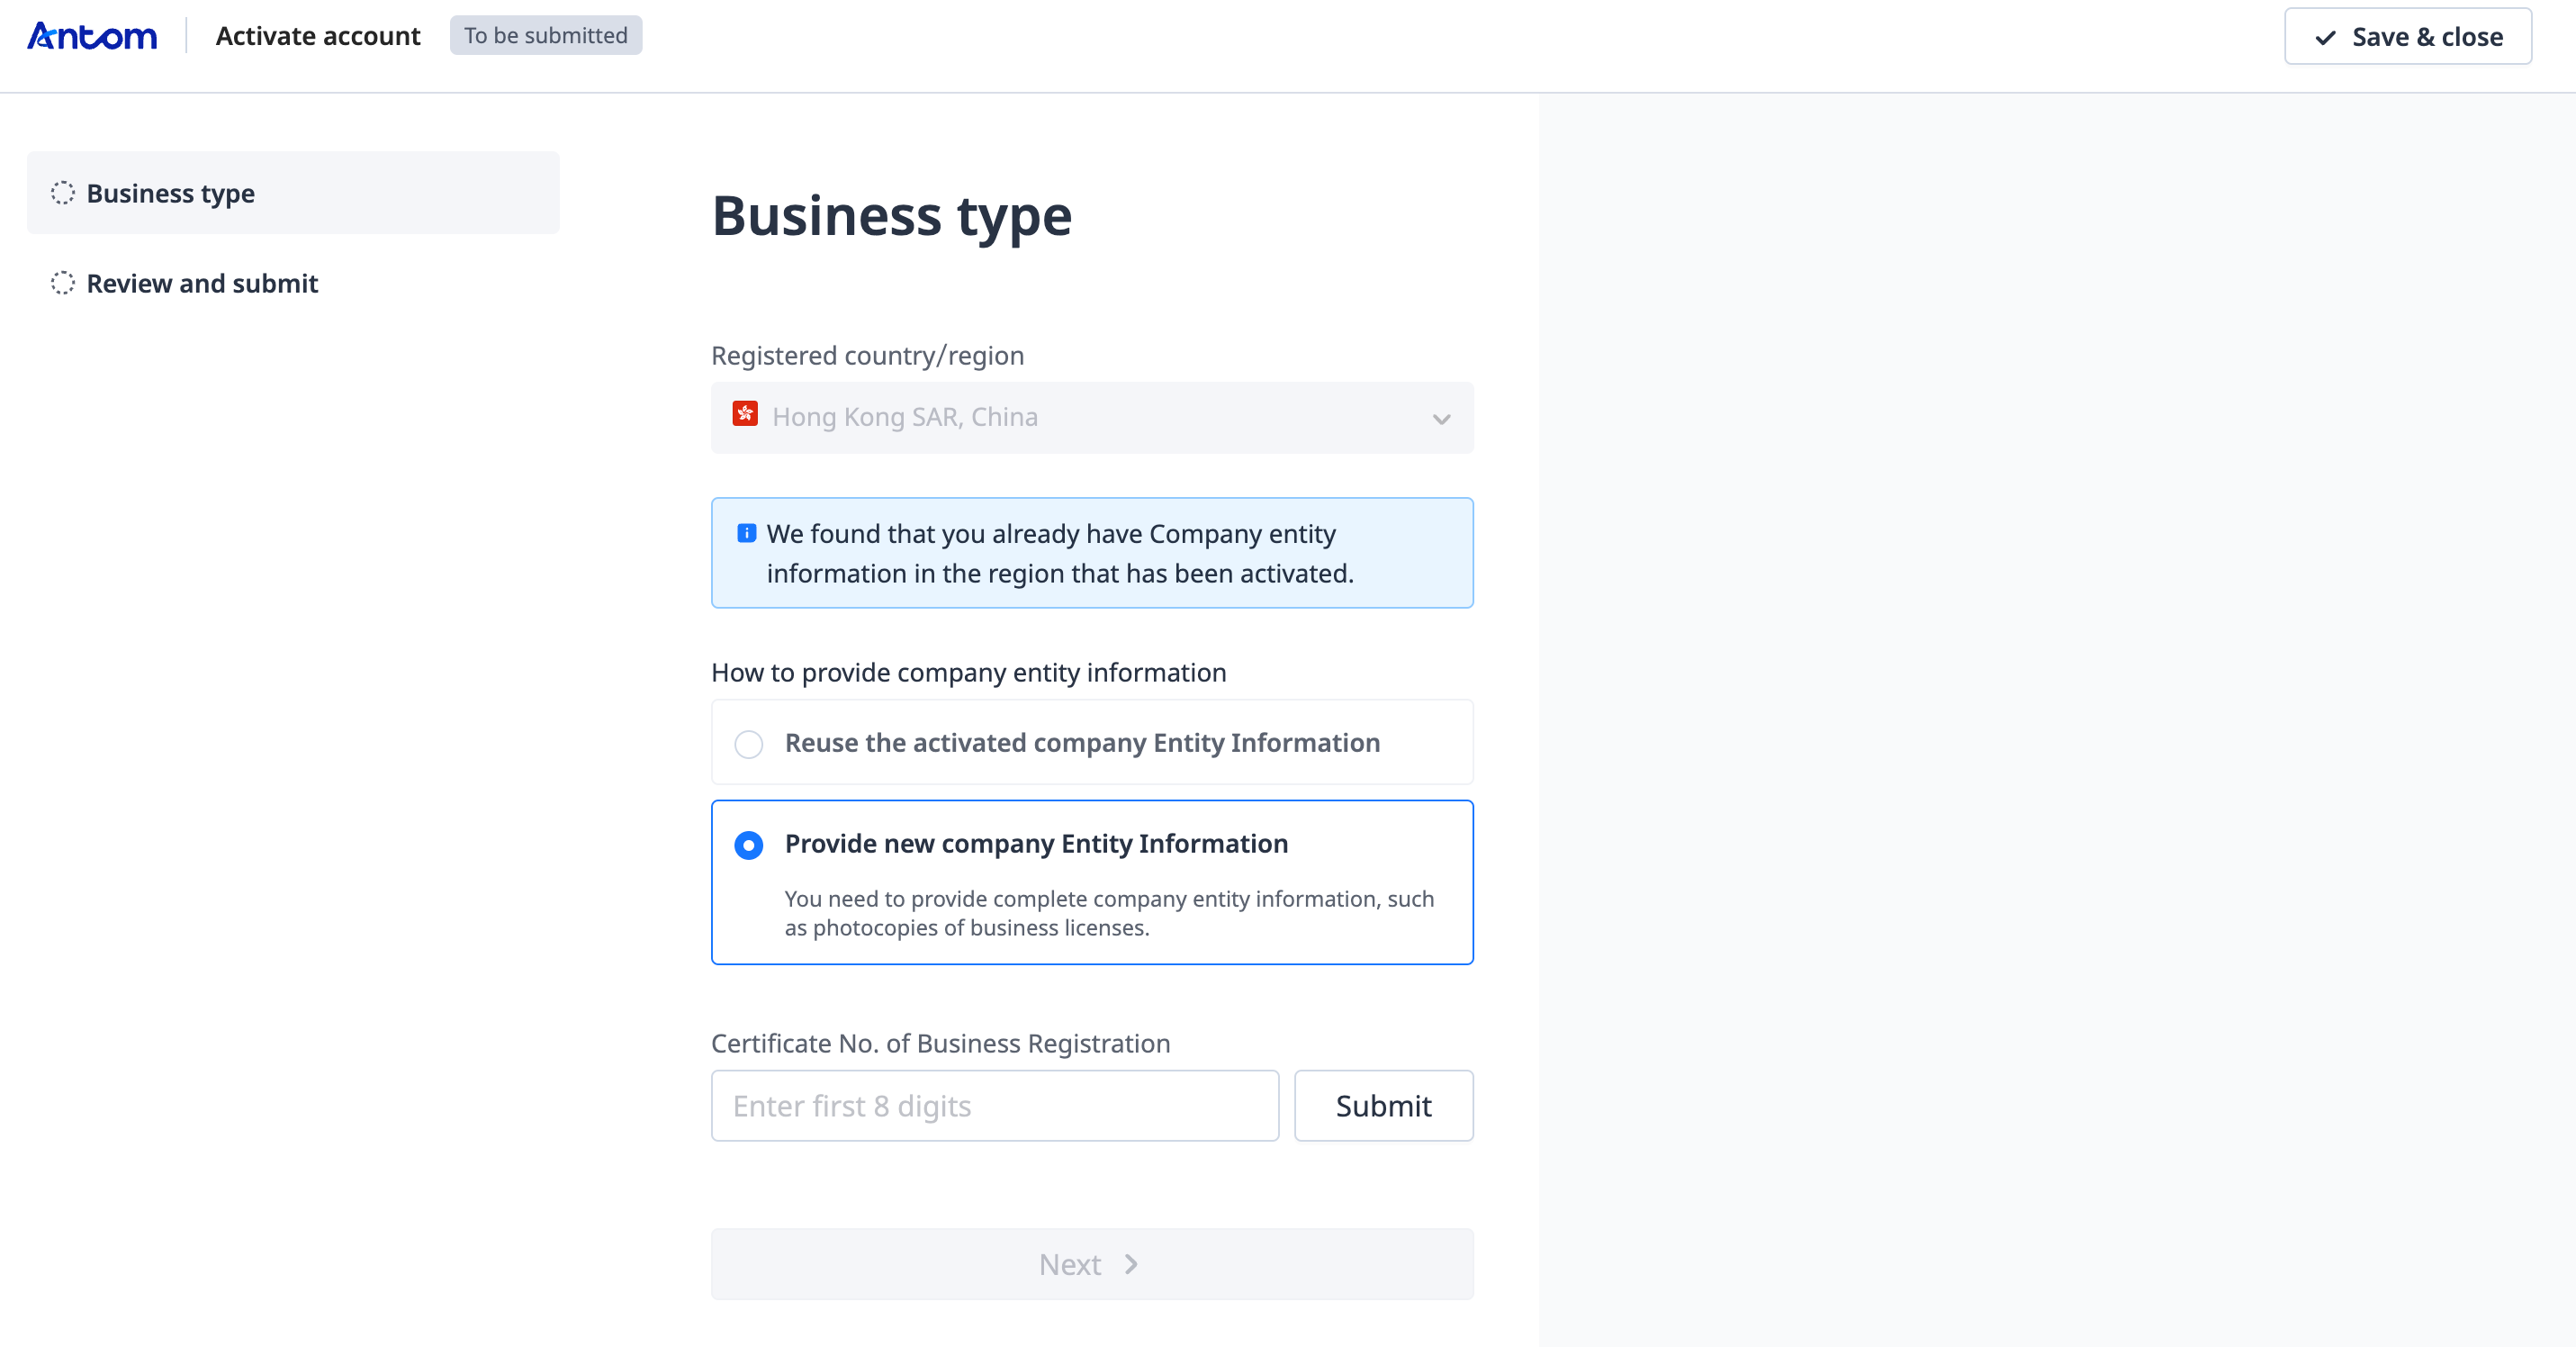
- Click Start on the Home Page to enter the Business type page. You may encounter the following two scenarios:
- If the region of the new merchant account is the same as the region of the activated merchant account, you can choose to reuse the company entity information. Click Next to view and modify the filled information, and submit it to complete the process.
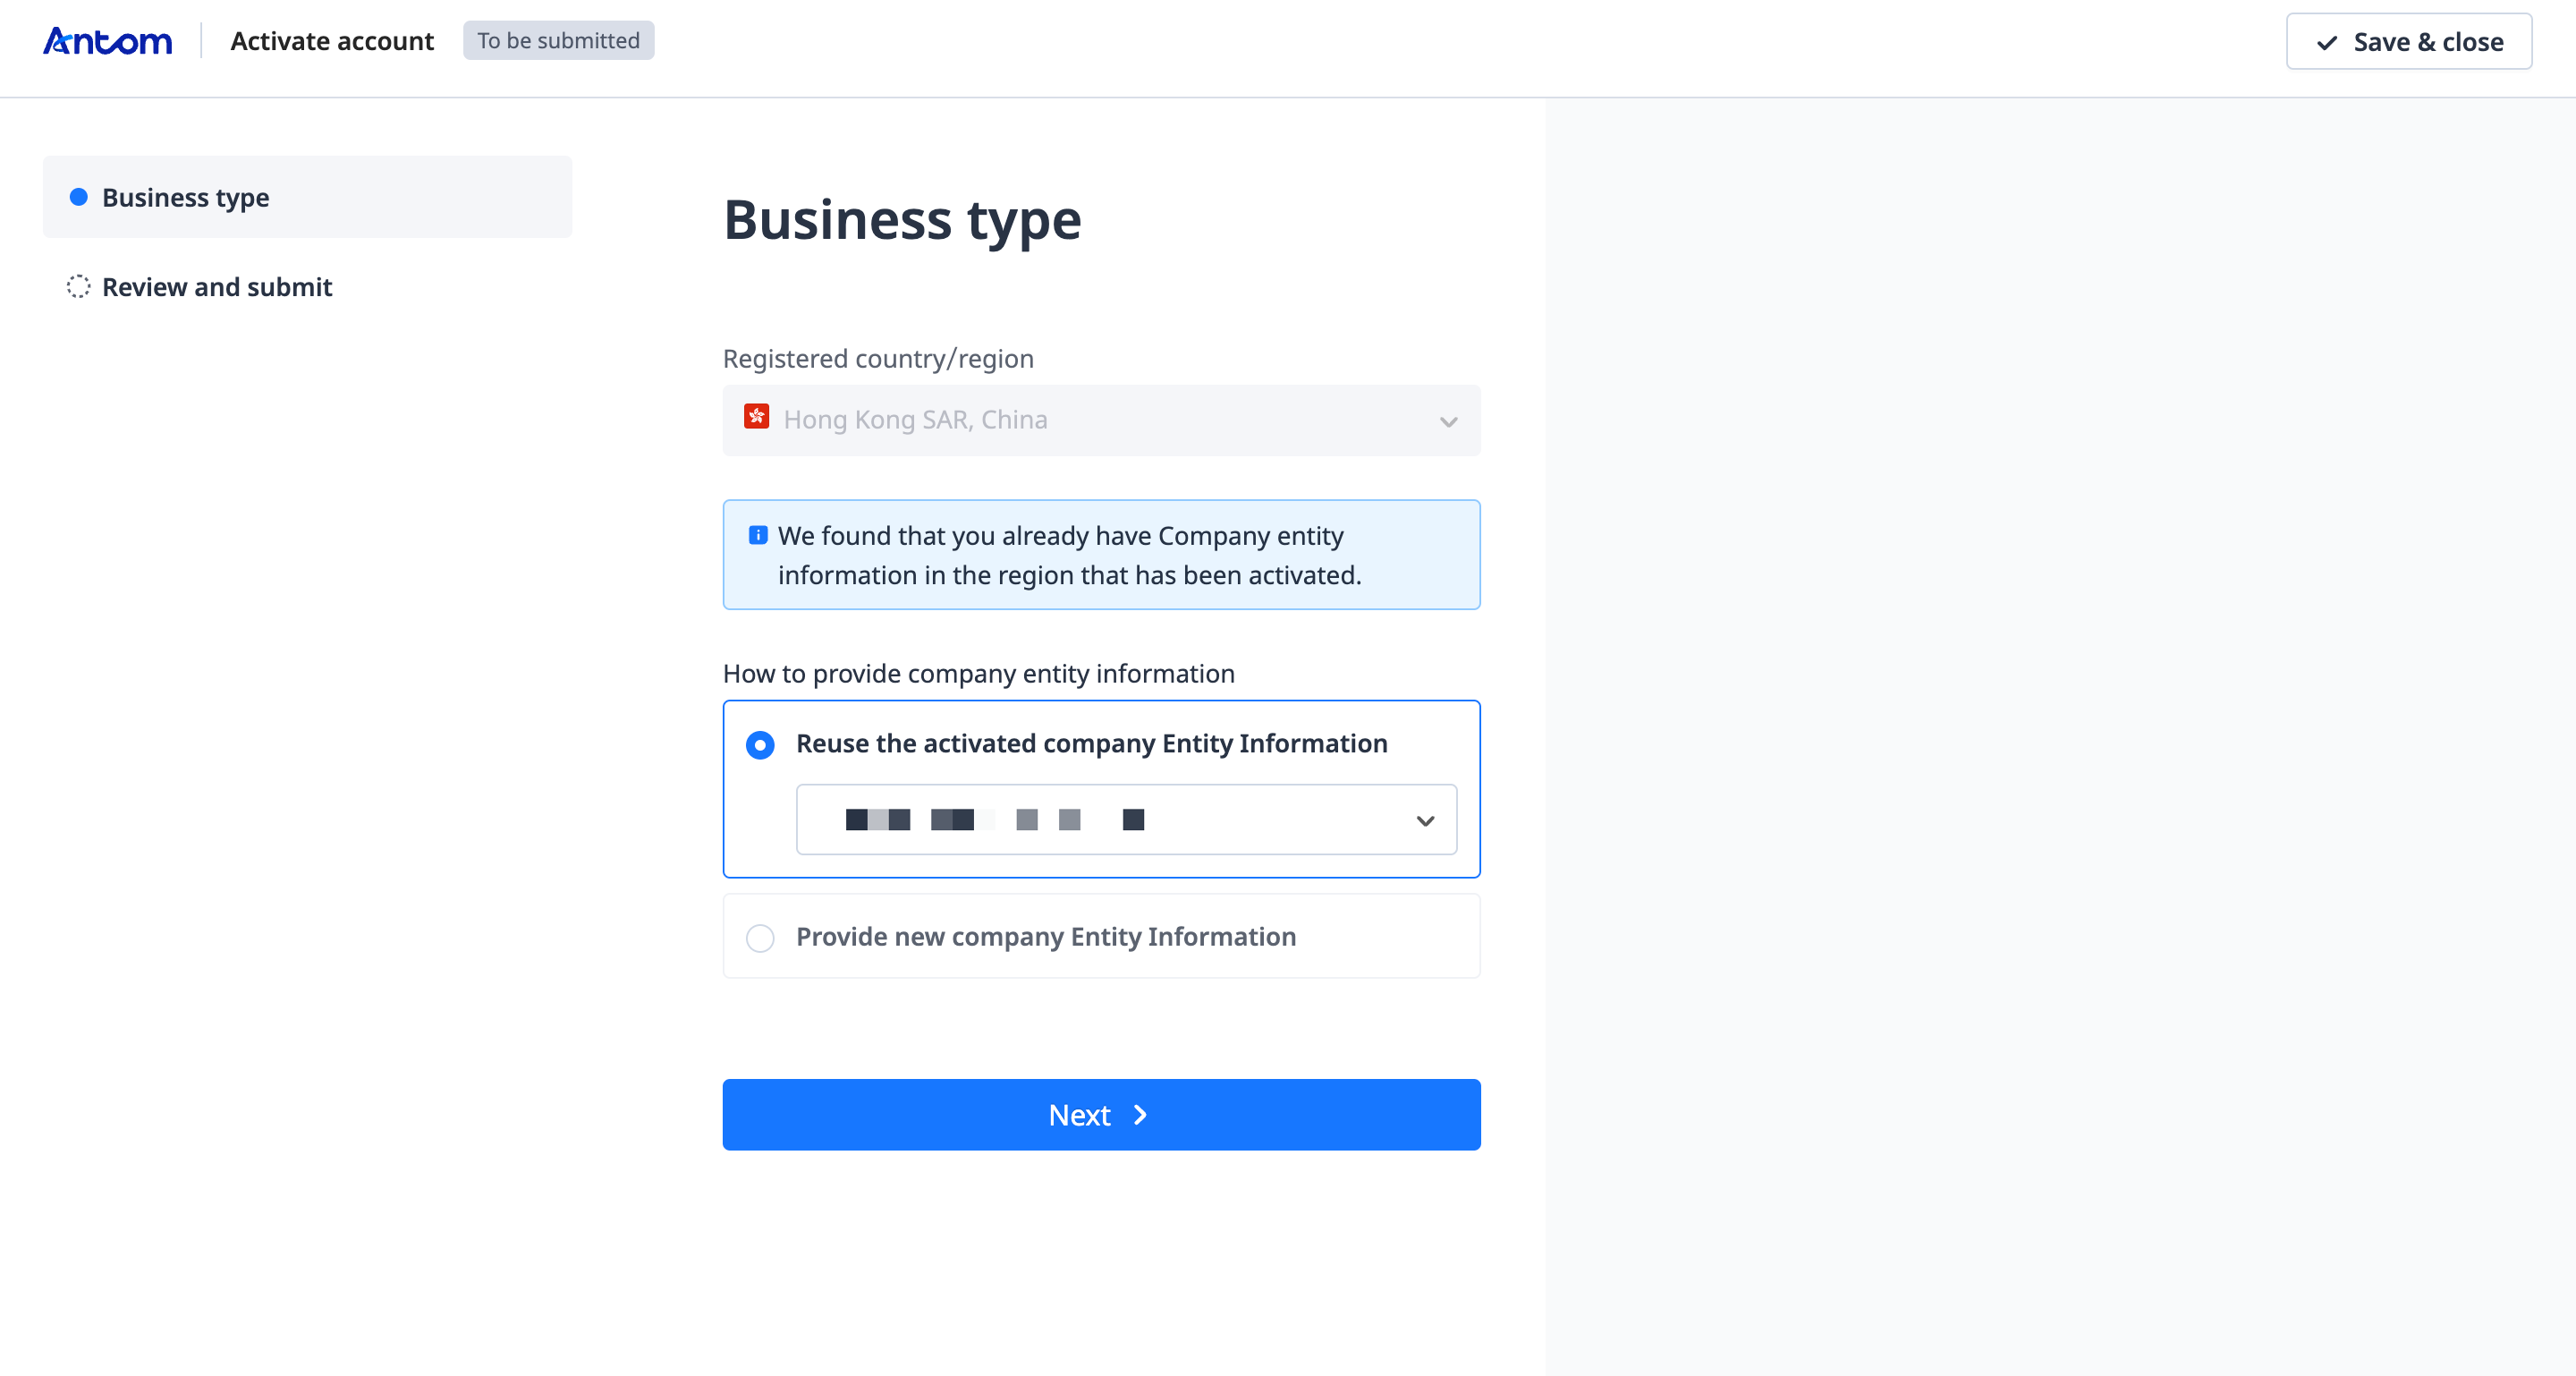
- If you choose to provide new company entity information, repeat the process from Step 3 to complete the registration of your new merchant account.
